|
 Oct 7, 2010 - Started work on second (right side) wing. Cleco-ed rear ribs to main and rear spars. |
 Oct 8, 2010 - Cleco-ed nose ribs in place.
|
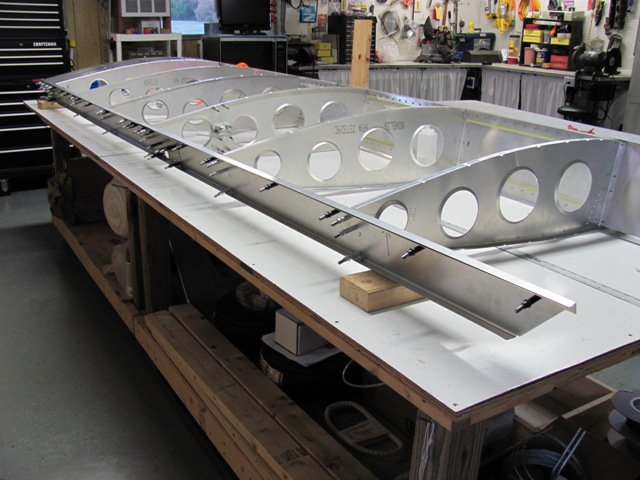
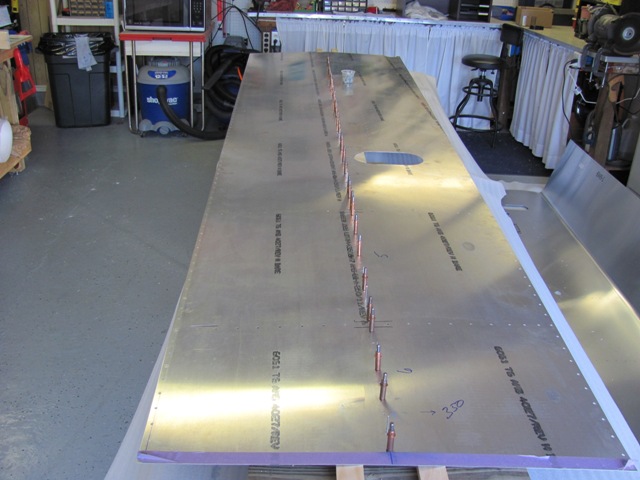
 Oct 9, 2010 - Mounted and cleco-ed top skin to frame.
|
 Oct 10, 2010 - Flipped wing over (top side down). |
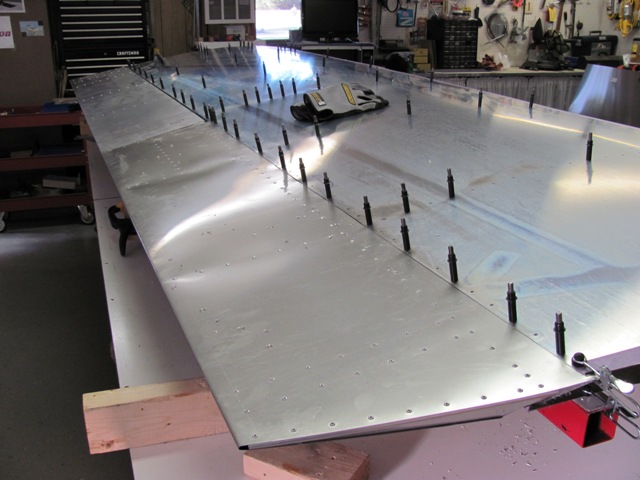
 Oct 10, 2010 - Mounted bottom skin to frame. |
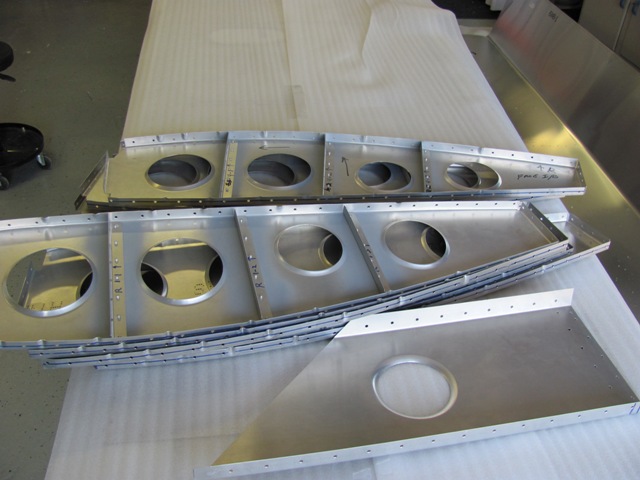
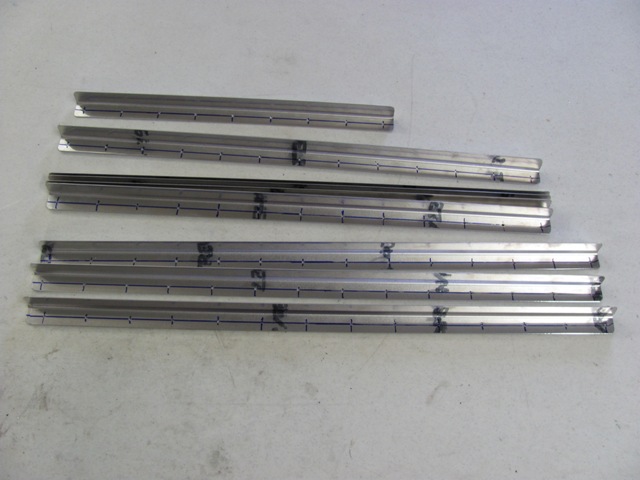 Oct 11, 2010 - Fabricated L-angle stiffeners for top and bottom skins.
|
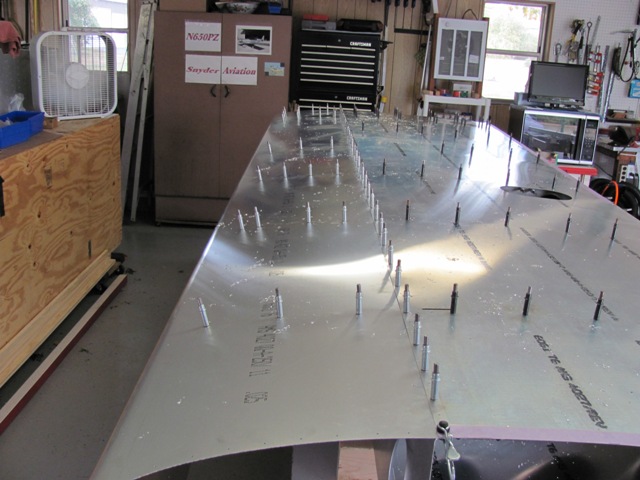 Oct 12, 2010 - Drilled and cleco-ed nose skin to bottom of main spar and nose ribs.
|
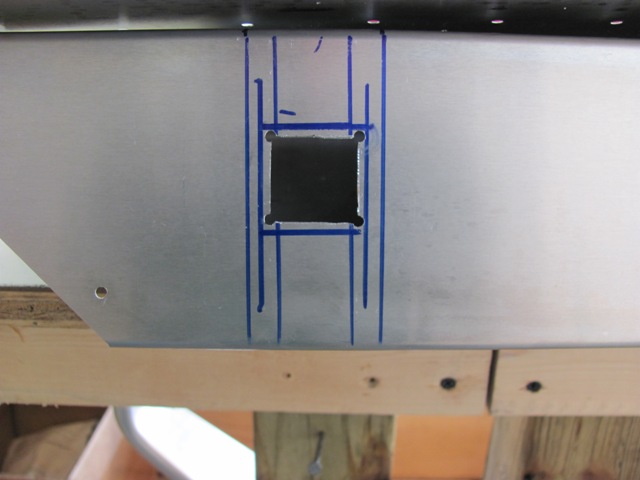 Oct 14, 2010 - Cut hole in rear spar for the aileron mass balance arm. |
 Oct 14, 2010 - Installed mass balance arm in aileron.
|
 Oct 14, 2010 - Riveted aileron. Ready for installation.
|
 Oct 14, 2010 - Flap (upper left) and aileron temporarily cleco-ed in place for alignment and calculation of weight needed
for mass balance arm.
|
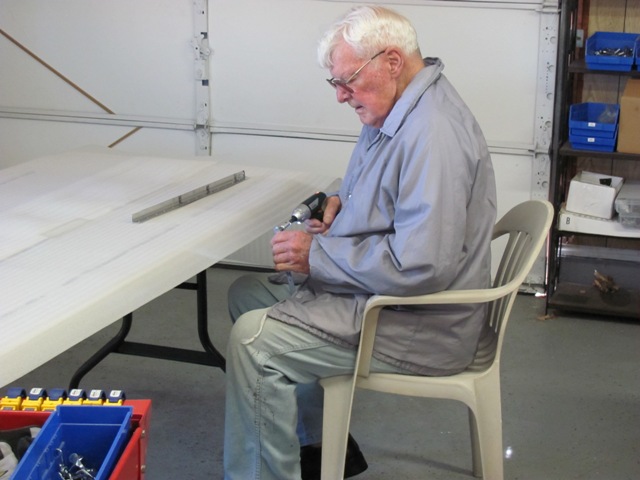
 Oct 16, 2010 - Nose skin wrapped over top. Drilled and cleco-ed to nose ribs. Ready to drill to main spar.
|
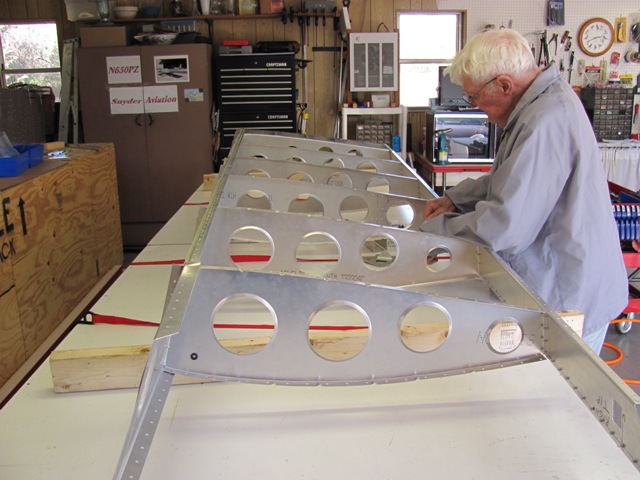
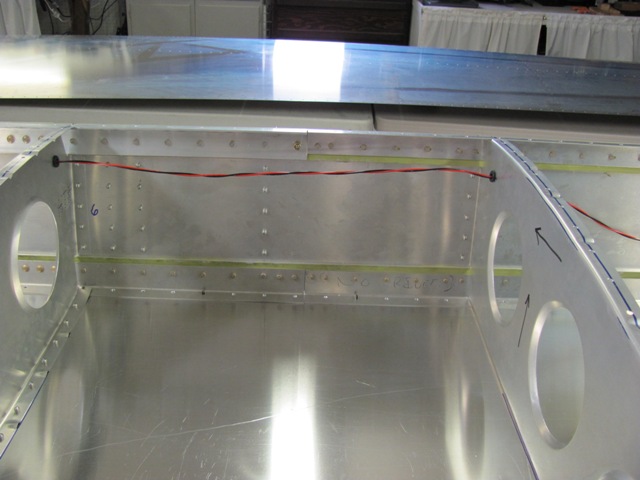
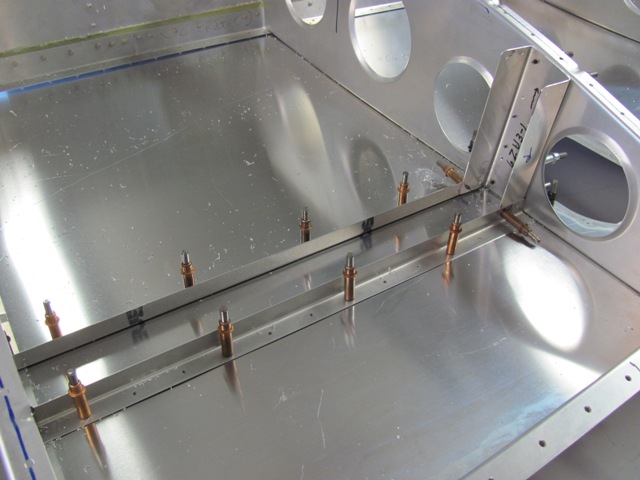 Oct 19, 2010 - Installing bell crank supports.
|
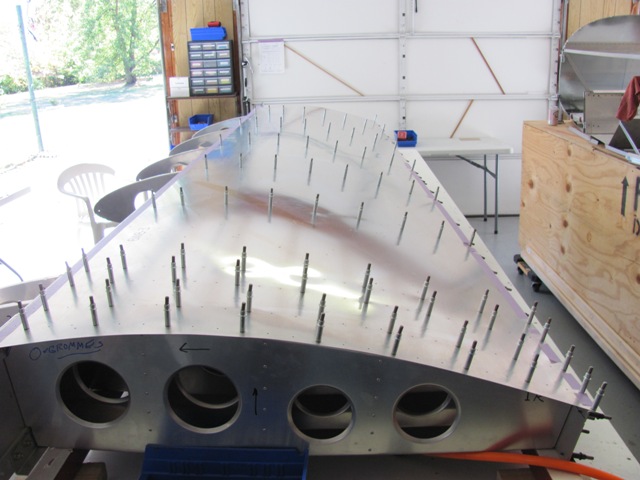
 Oct 20, 2010 - L-angle stiffeners being added to inside of top skin.
|
 Oct 20, 2010 - Starting to dissasemble wing for deburring of individual parts before final riveting. Nice sit-down job
for Clay Heathco.
|
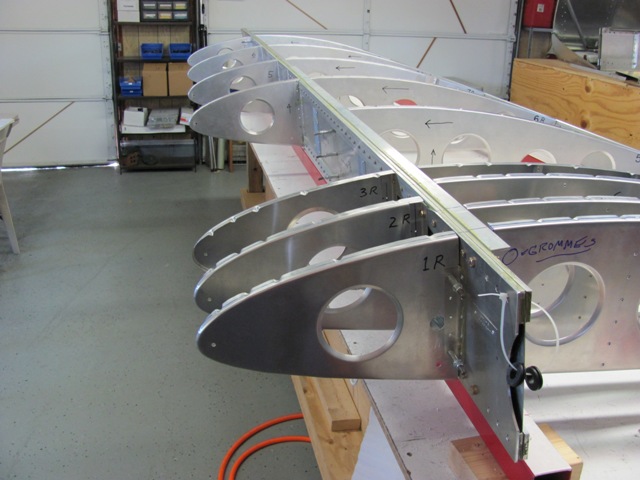
 Oct 20, 2010 - Ribs ready for deburring.
|
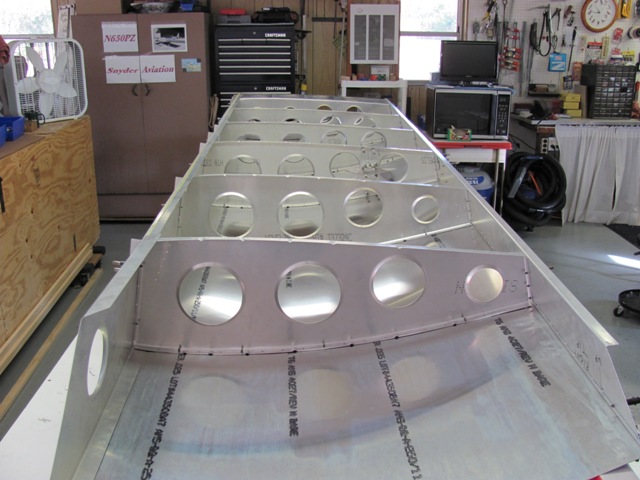
 Oct 21, 2010 - Re-assembly of wing in progress.
|
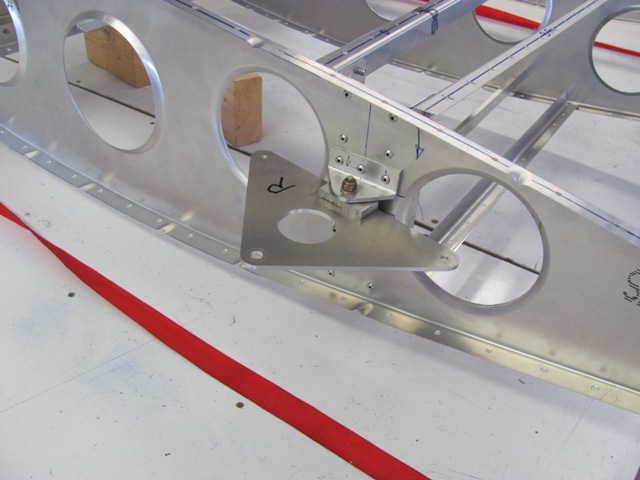 Oct 21, 2010 - Aileron control cable bell crank assembly.
|
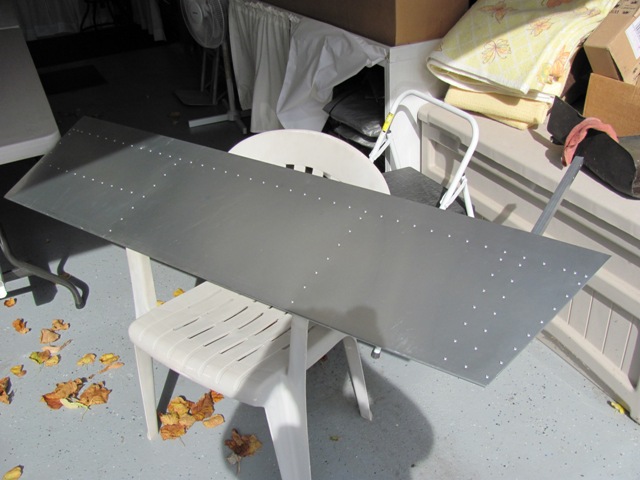
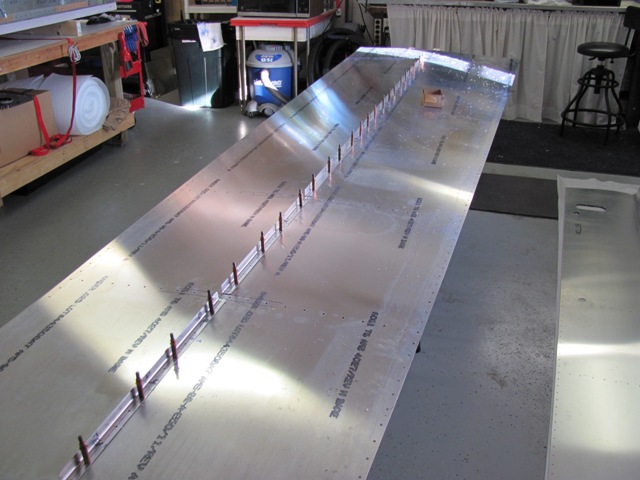
 Oct 21, 2010 - L-angle siffeners being added to bottom skin. |
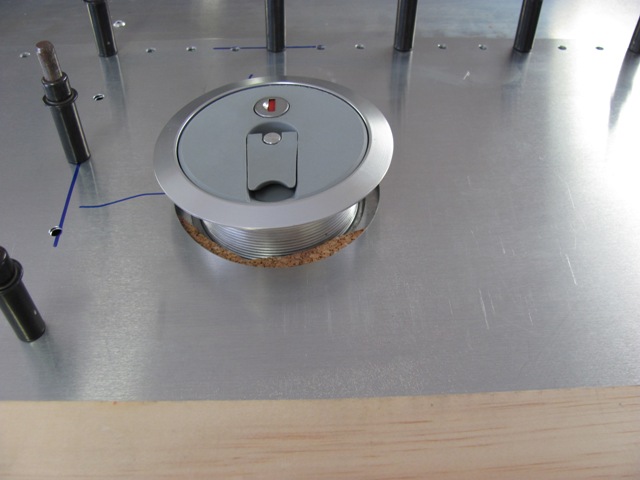
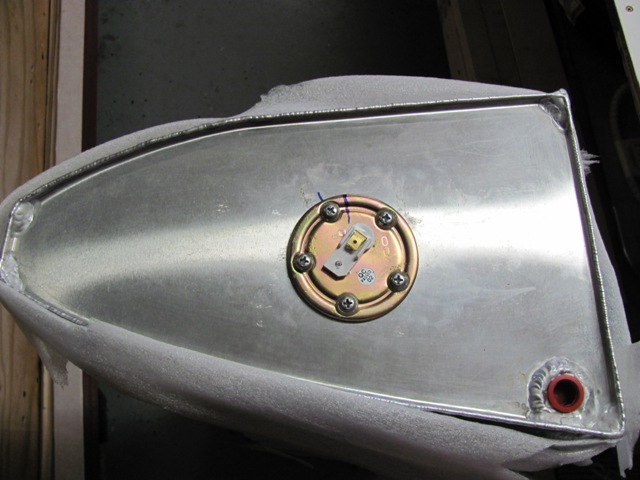 Oct 22, 2010 - Fuel level sender installed in end of tank. Red cap in lower right is where finger screen and fuel hose
will connect.
|
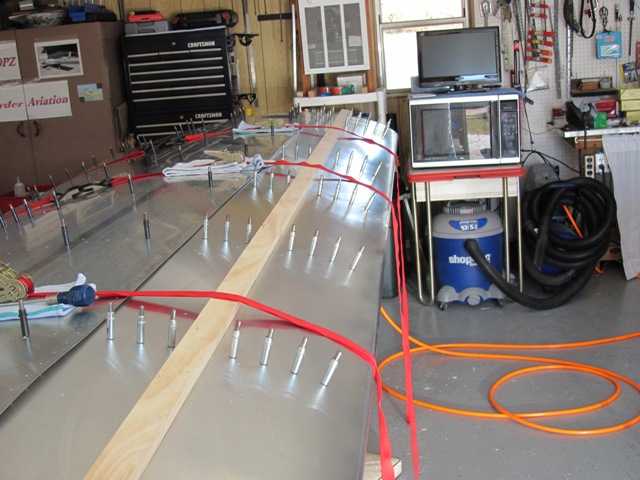
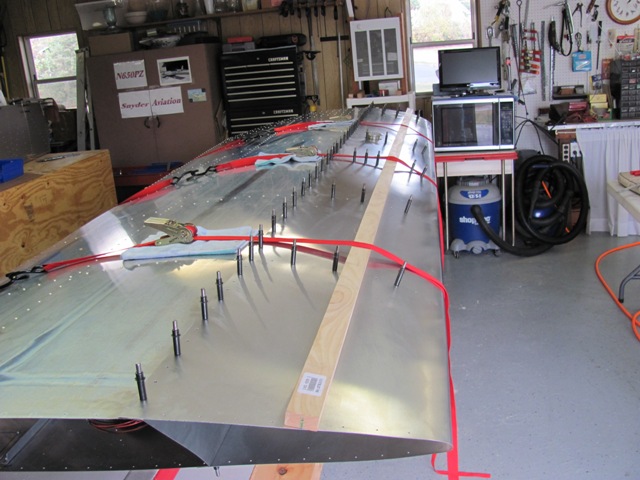
 Oct 22, 2010 - Bottom skin riveted in place.
|
 Oct 22, 2010 - Wing flipped right side up.
|
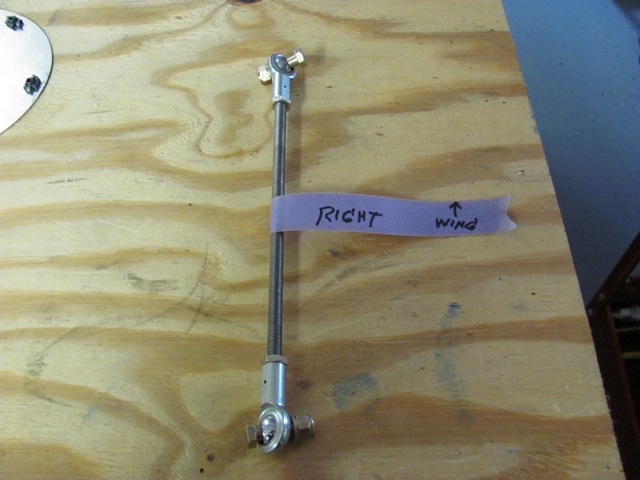 Oct 23, 2010 - Temporarily mounted aileron and set control rod to final alignment.
|
 Oct 23, 2010 - Ran wiring for wing tip strobe through rib grommets.
|
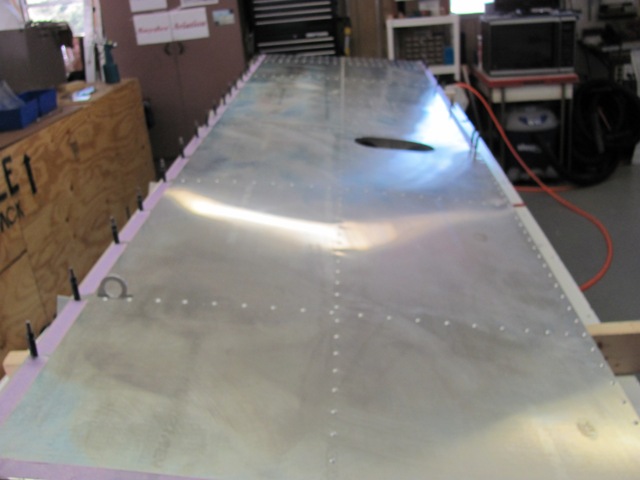
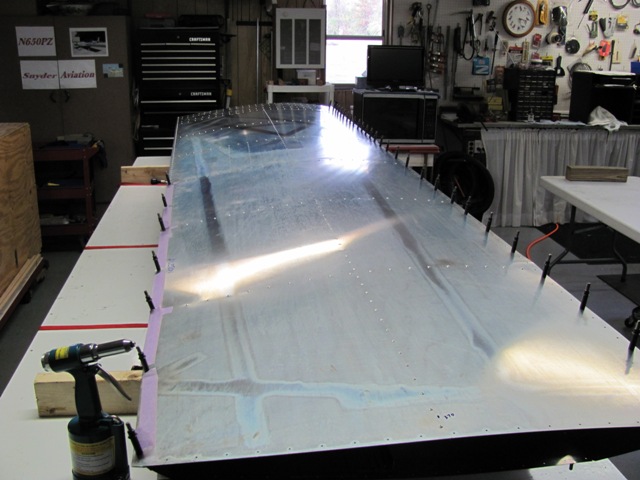 Oct 23, 2010 - Top skin riveted in place.
|
 Oct 23, 2010 - Riveted nose ribs to main spar.
|
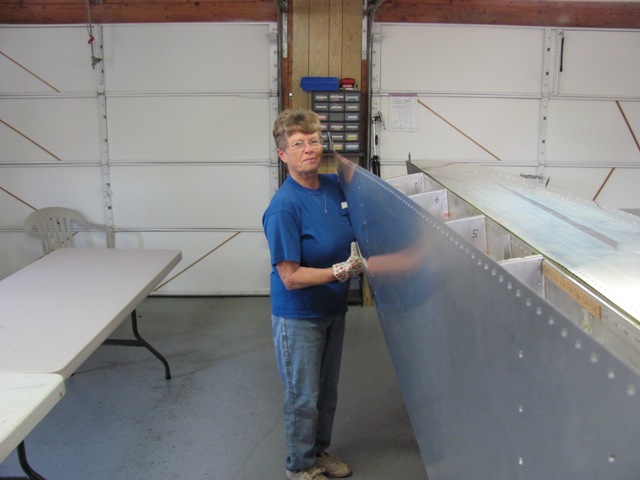 Oct 24, 2010 - My lovely wife, Suzanne, helping me attach the nose skin.
|
 Oct 24, 2010 - Nose skin mounted to lower nose ribs.
|
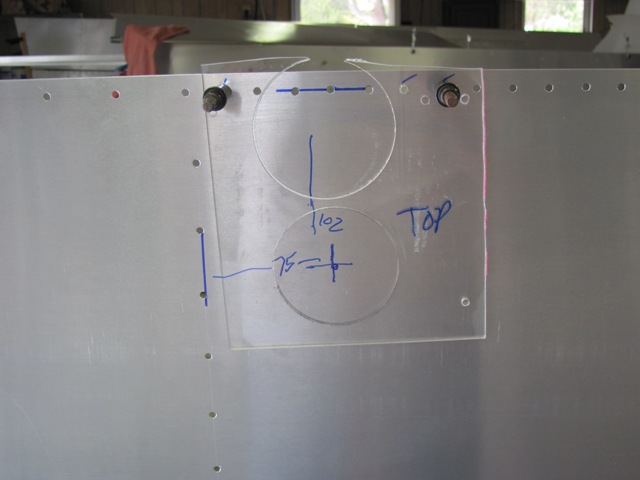 Oct 24, 2010 - Measuring for hole in nose skin for fuel tank filler neck.
|
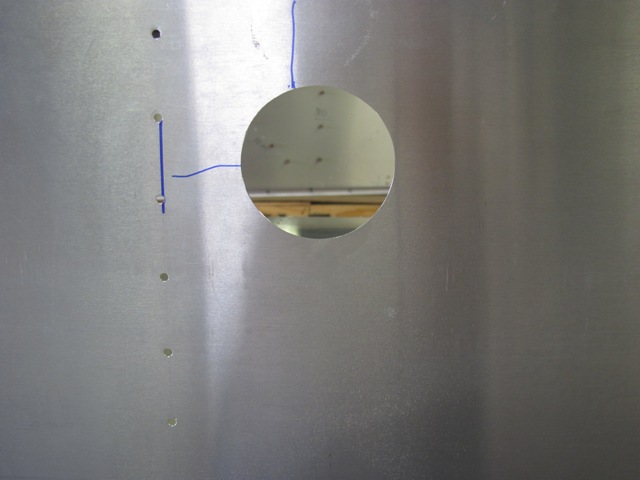 Oct 24, 2010 - Hole for filler neck cut in nose skin.
|
 Oct 24, 2010 - Nose skin wrapped over top, ready for riveting.
|
 Oct 24, 2010 - Installing fuel filler neck and cap.
|
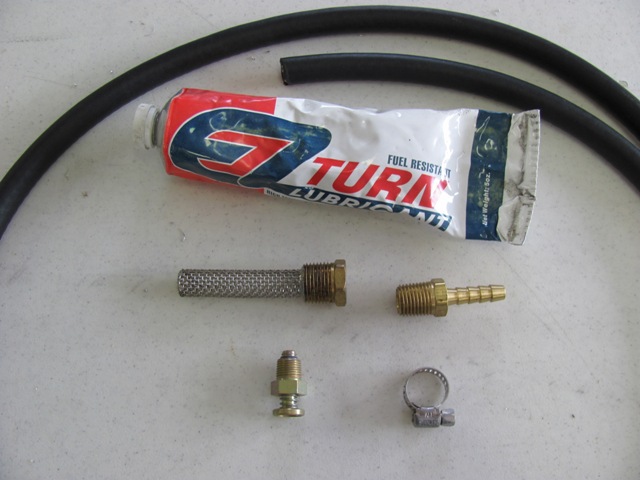 Oct 24, 2010 - Finger screen, nipple, hose, and clamp for fuel supply. Quick drain valve (lower left) for insertion
in bottom of tank. Applied EZ-Turn "fuel lube" as sealant.
|
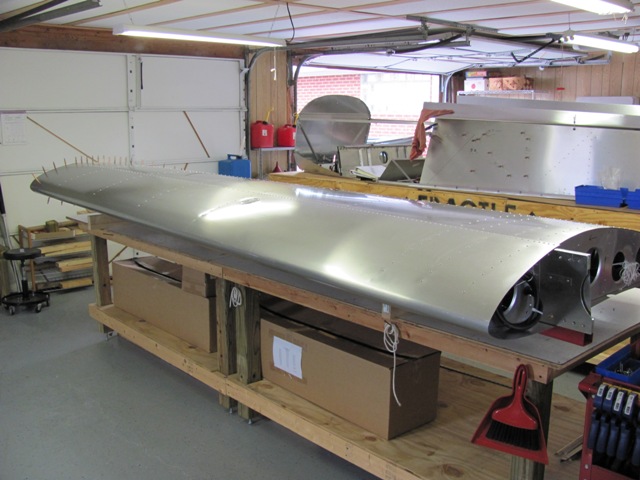
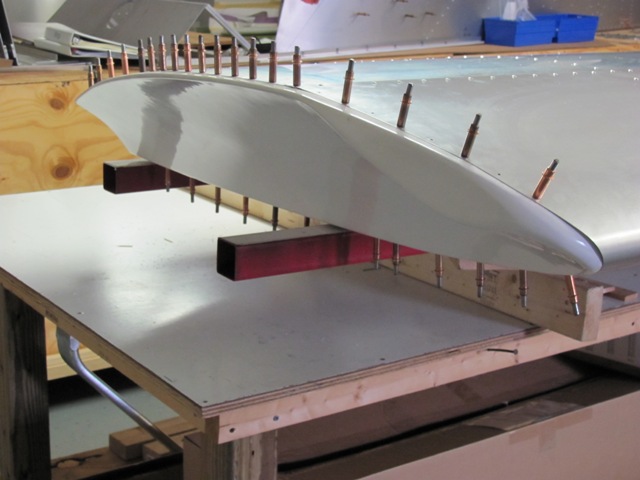 Oct 25, 2010 - Installed fiberglass wing tip. Will leave cleco-ed until wing attached to fuselage.
|
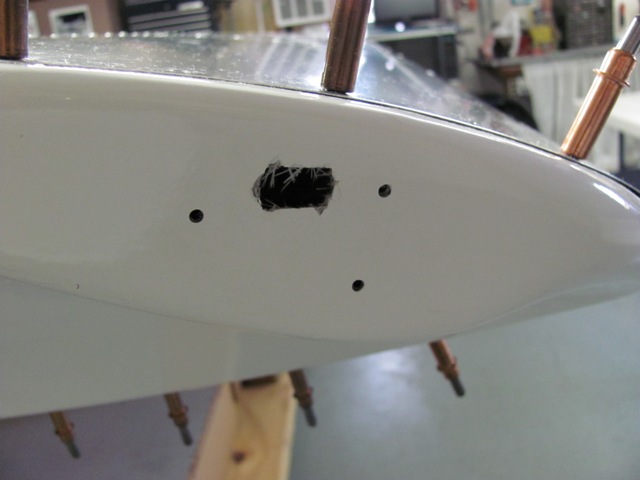 Oct 25, 2010 - Holes drilled in wing tip for mounting of strobe light.
|
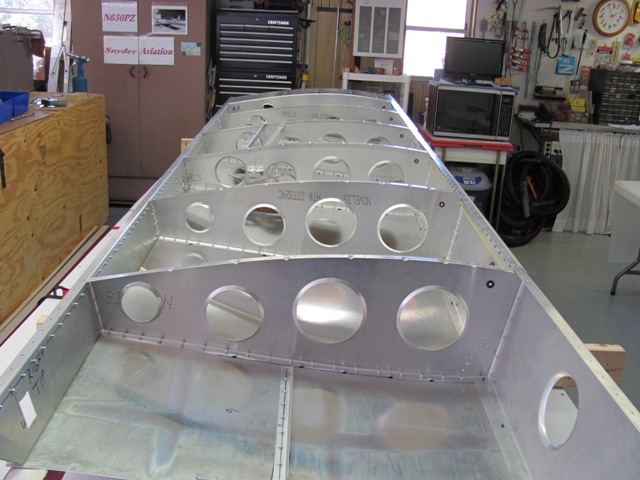
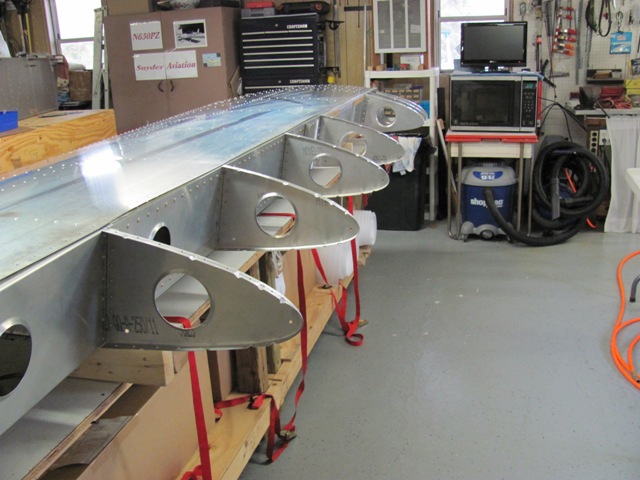
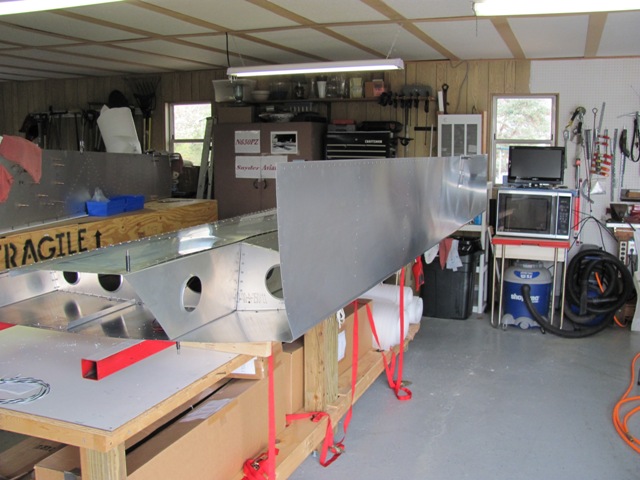
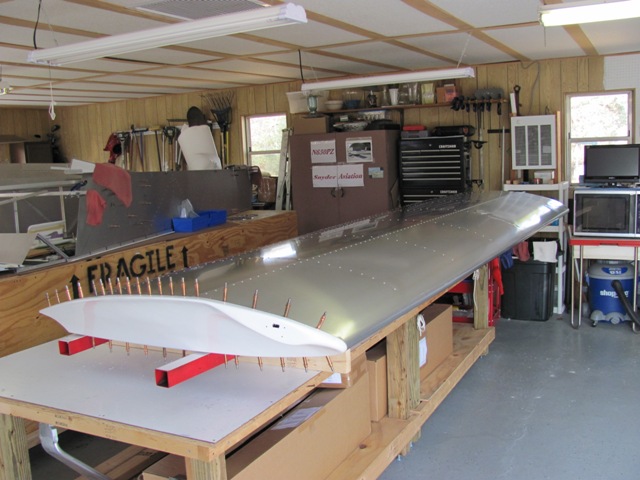 Oct 25, 2010 - Wing completed. 19 days !!!
|
 Oct 25, 2010 - View of completed wing from root end. Ready to be placed in wing cradle, then moved to hanger for storage.
|
|
Enter supporting content here |