|
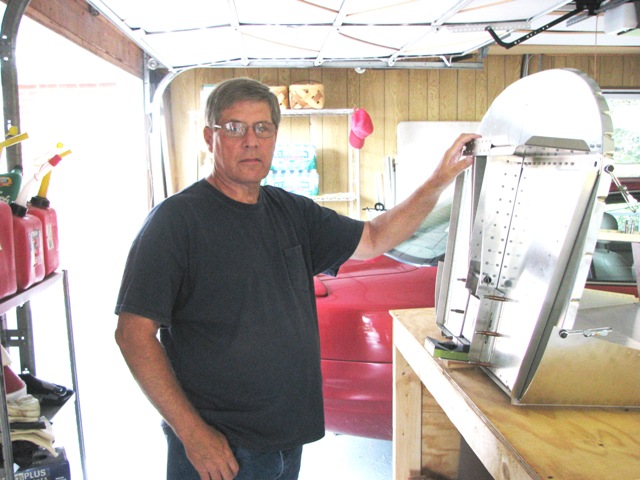 Jul 19, 2010 - Friend and EAA Tech Counsler, Gary Reynolds, stopped by to look over my project. Liked what he saw.
|
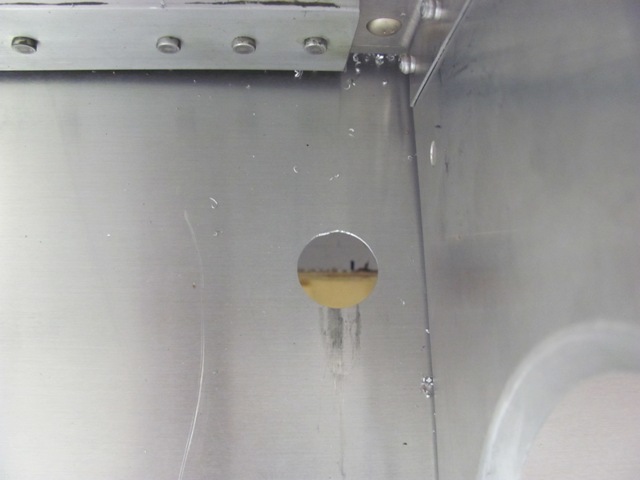
 Aug 7, 2010 - Cutting holes in skin for fuel tank installation. Large hole on left in for fuel outlet. Smaller hole
is pilot for quick drain location.
|
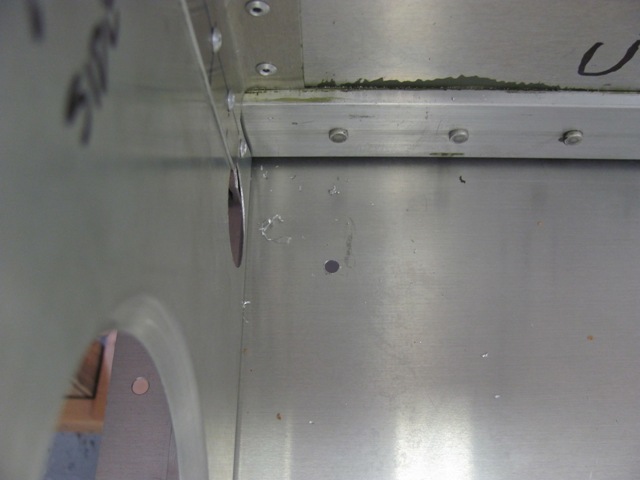
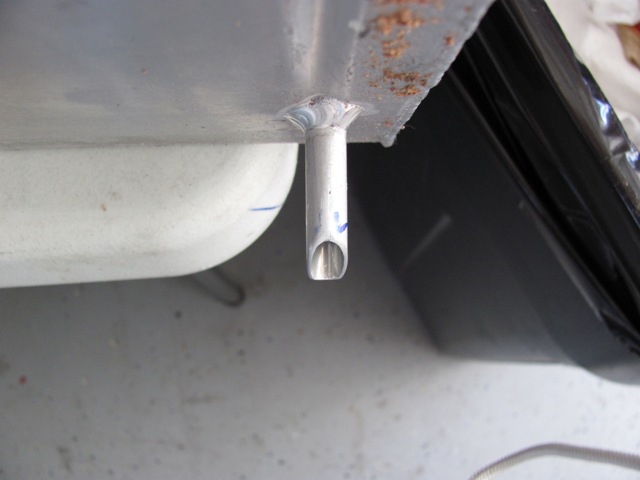
 Aug 7, 2010 - This hole is on right side of nose skin for tank vent tube.
|
 Aug 7, 2010 - Fuel tank dry fit.
|
 Aug 7, 2010 - Fuel tank vent tube.
|
 Aug 7, 2010 - Fuel tank quick drain (minus drain valve).
|
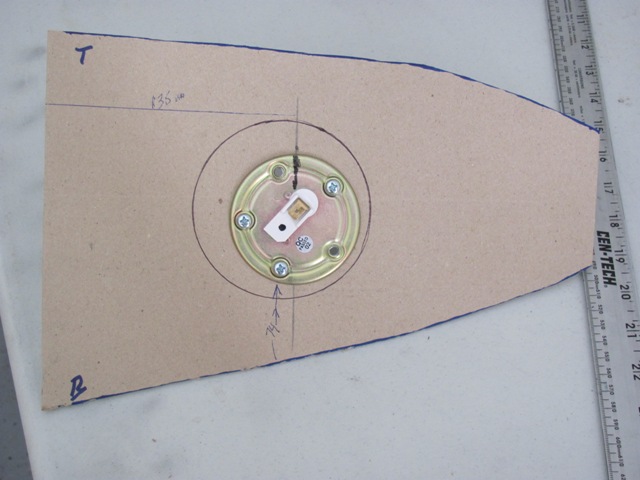 Aug 8, 2010 - Made cardboard template for location of hole in end of fuel tank for the fuel level sending unit.
|
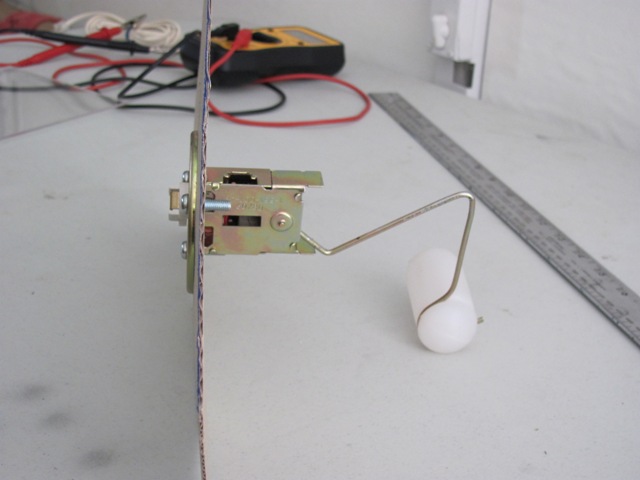 Aug 8, 2010 - View of how fuel sender will look inside of tank. Sender comes with straight arm. Had to bend per
plans to work with these tanks.
|
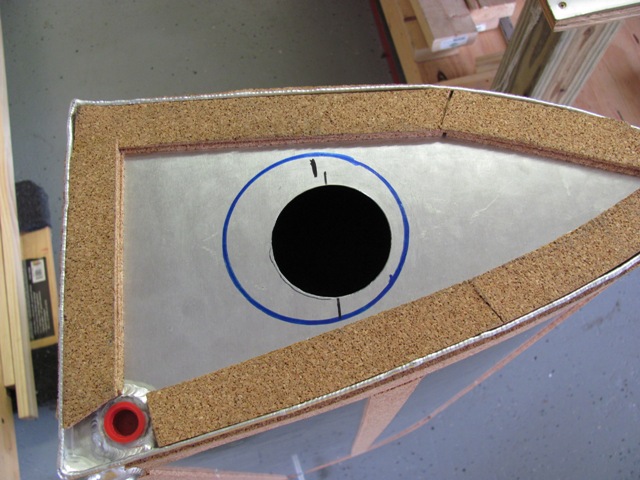 Aug 24, 2010 - Cut 59mm hole in end of tank for fuel level sender unit. Blue line indicates location of lightening hole
in wing rib.
|
 Aug 26, 2010 - Installed fuel level sender in tank. Black line indicates up position in flight.
|
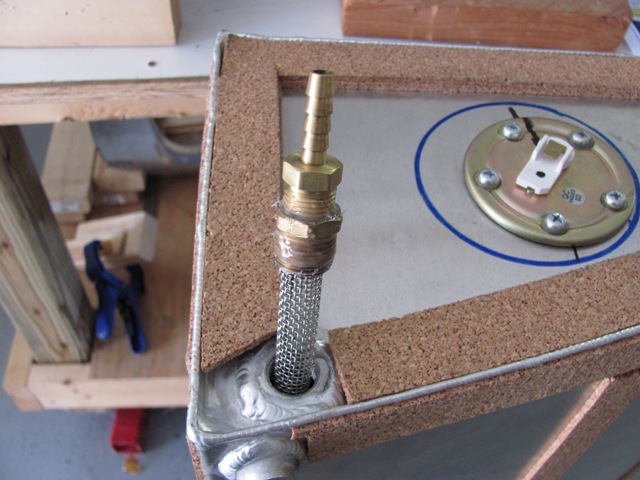 Aug 26, 2010 - Dry fit finger strainer and fuel hose nipple. |
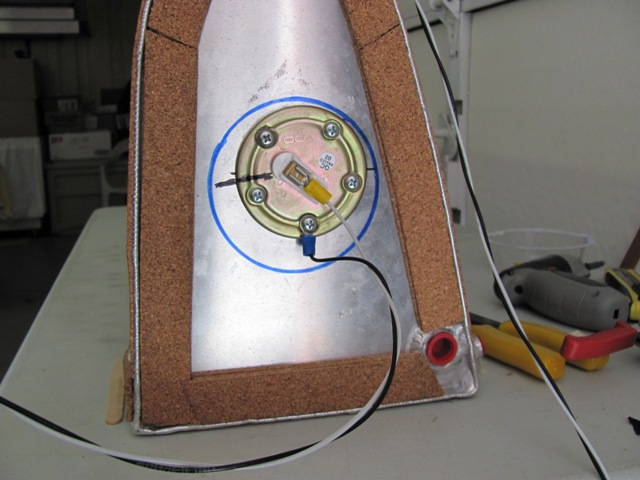 Aug 26, 2010 - Added terminals and test fit wiring to fuel sender.
|
 Sep 5, 2010 - Filed tip of tank vent to 45 degree angle to provide for positive pressure inside tank during flight.
|
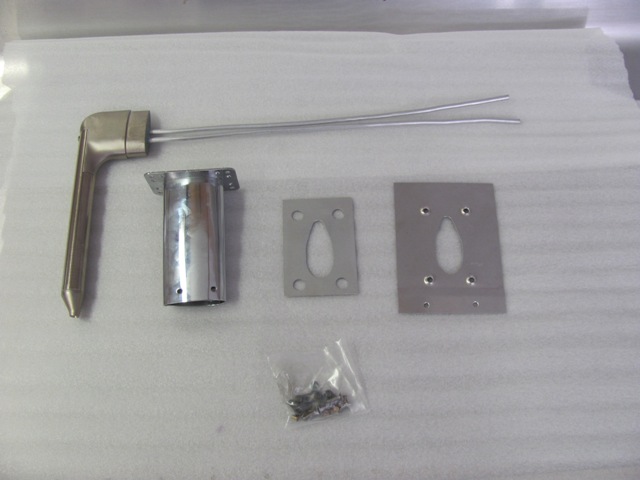 Sep 17, 2010 - I chose to install the Dynon pitot, with angle of attack provision. This requires installing a Gretz
Aero mounting bracket.
|
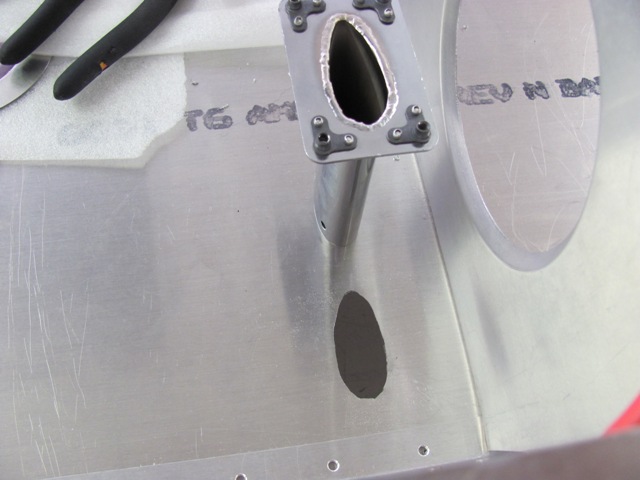 Sep 17, 2010 - Moved location of pitot outboard for better airflow. Cut hole in bottom skin for drop down pitot bracket.
|
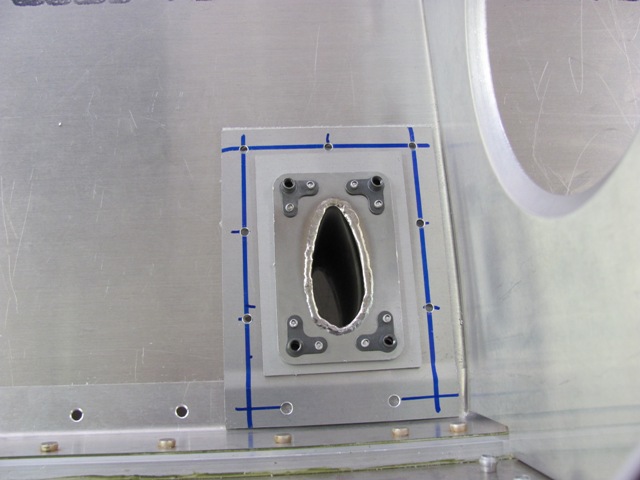 Sep 17, 2010 - Bracket and two reinforcing plates drilled and fitted to spar and bottom skin. Will rivet later.
|
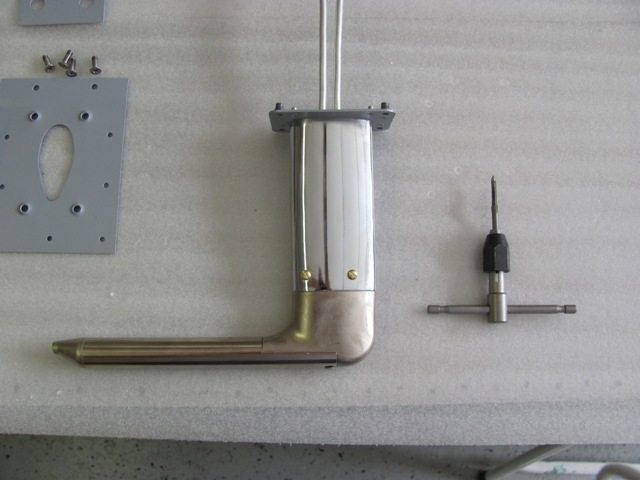 Sep 18, 2010 - Drilled and tapped pitot body for 6-32 screws to attach to Gretz mounting bracket. Later, I will have
to install fuselage static ports.
|
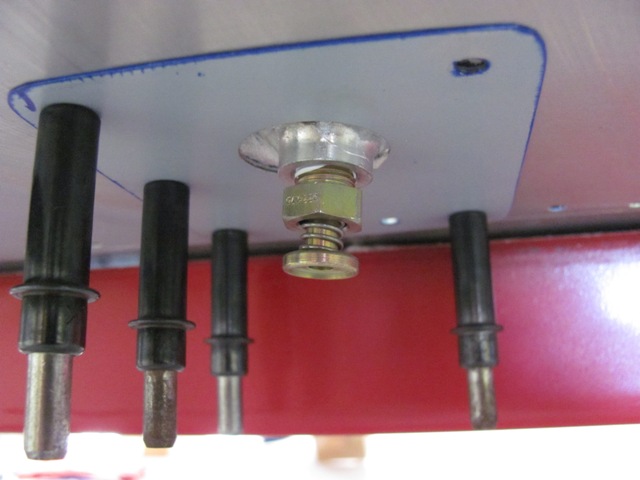
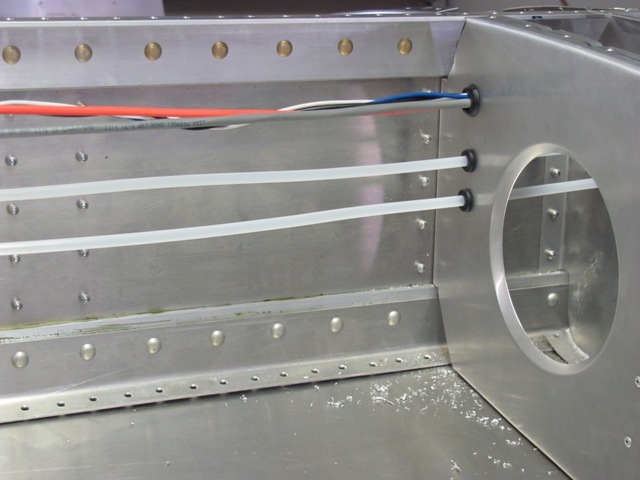 Sep 19, 2010 - All electrical lines running through rib grommets. Installed twelve 1/4" ID grommets through rear ribs
1 thru 6, and ran two 1/4" nylon tubing lines for pitot and AOA.
|
 Sep 21, 2010 - Cut hole in nose skin for landing light installation. Landing light bracket drilled and cleco-ed.
|
 Sep 21, 2010 - Landing light lens (with protective covering) dry fit in place.
|
 Sep 22, 2010 - Landing light assembly in place and wiring complete.
|
 Sep 23, 2010 - The blue material is a nylon plate that is riveted to the top of the rear spar to act as a positive flap gap
stop.
|
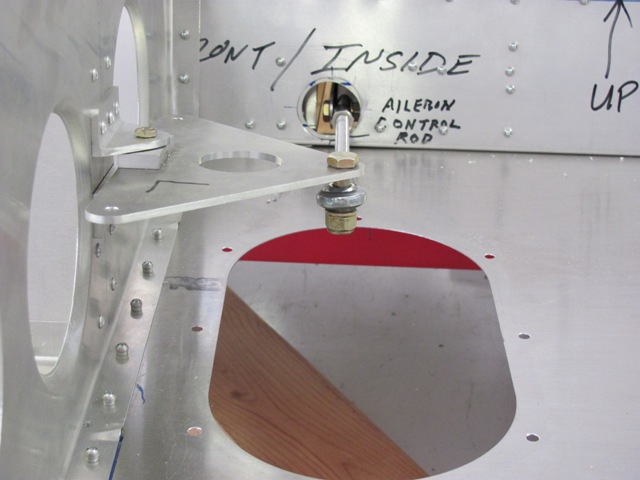
 Sep 23, 2010 - This is the aileron stop. The hole is where the aileron control rod enters the wing.
|
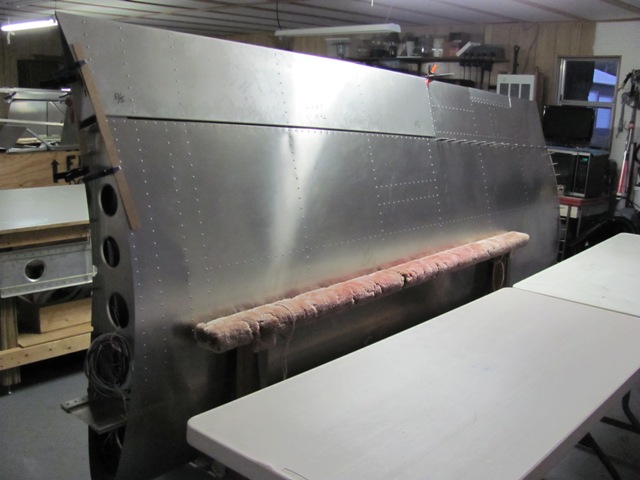
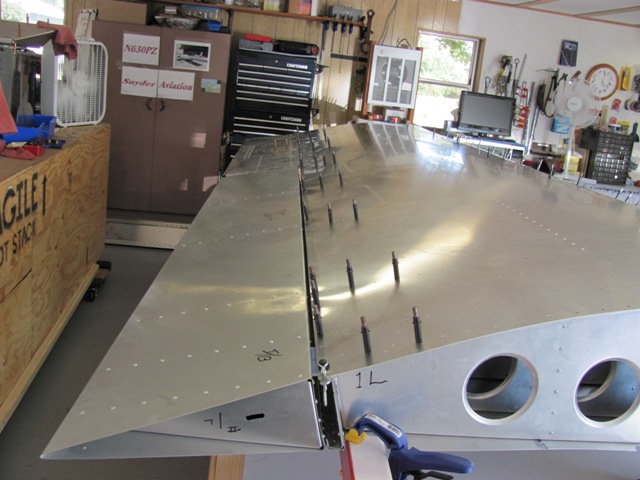 Sep 23, 2010 - Wing, aileron, and flap in final postions (viewed from root end of wing).
|
 Sep 23, 2010 - Set aileron control rod. Before closing up wing, I will tie heavy twine to the bell crank to help pull
aileron cables during final assy.
|
 Sep 25, 2010 - Fuel quick drain installed.
|
 Sep 25, 2010 - Installed fuel tank filler neck. Gooey stuff in EZ-Turn lubricant and sealer. Some call it "fuel-lube".
|
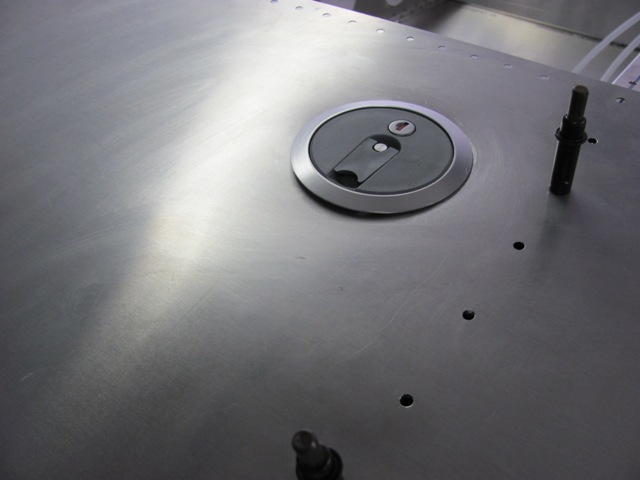 Sep 25, 2010 - Locking fuel cap inserted into filler neck. Not real happy with the fit around the neck, but that's why
they call it "amateur/homebuilt".
|
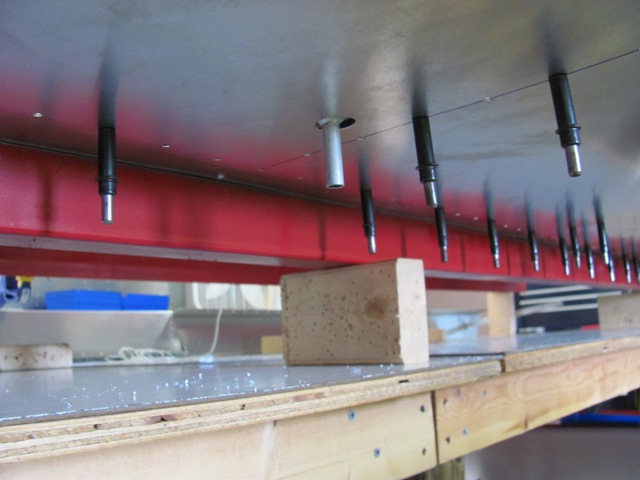
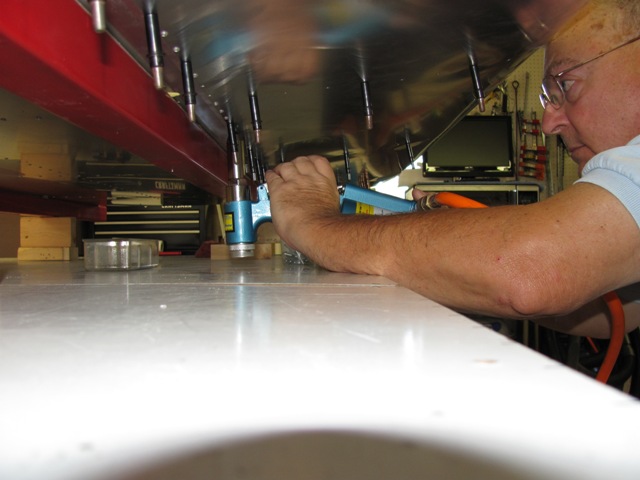 Sep 25, 2010 - Time to rivet the nose skin, starting at the bottom. This would be impossible using only a hand riveter.
|
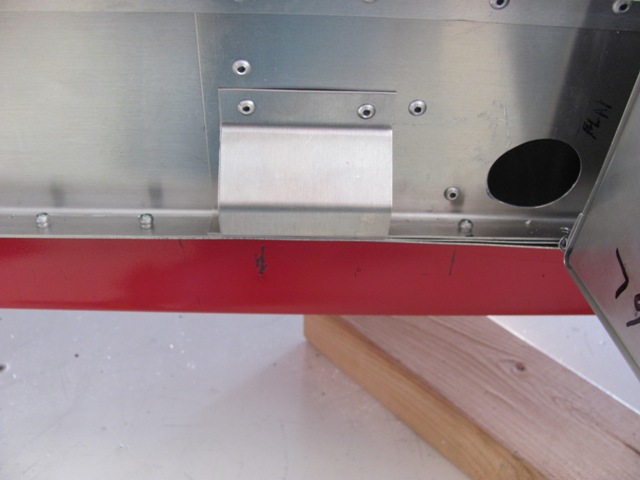
 Sep 26, 2010 - Riveted pitot mounting bracket to bottom skin.
|
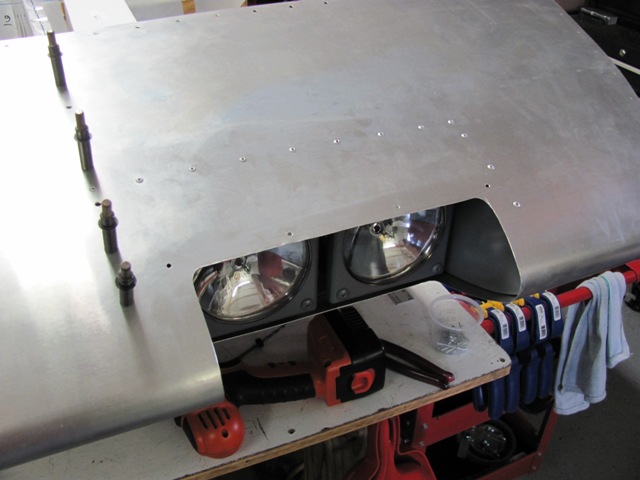 Sep 26, 2010 - Riveted Landing Light frame into nose skin.
|
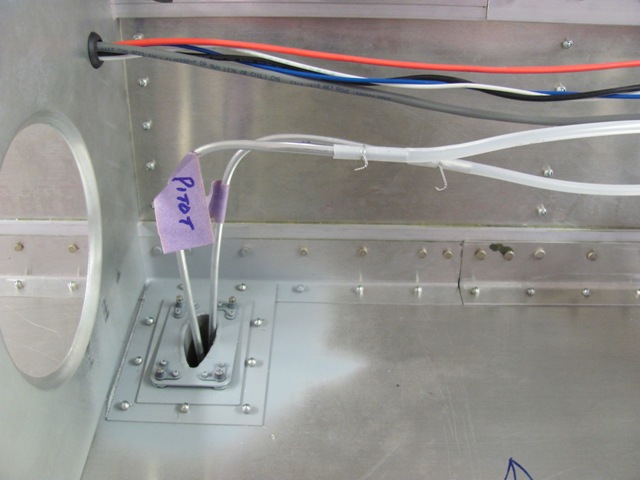 Sep 26, 2010 - Installed pitot and attached tubing.
|
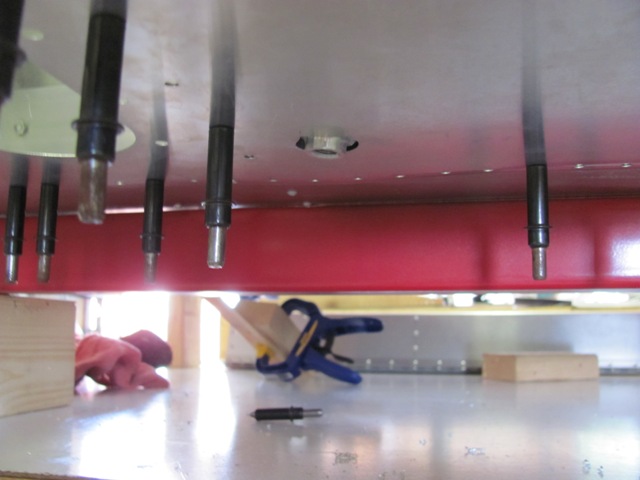
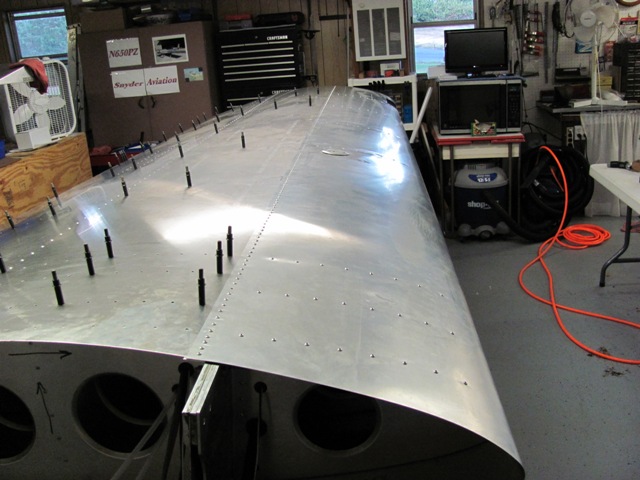 Sep 26, 2010 - Nose skin all riveted.
|
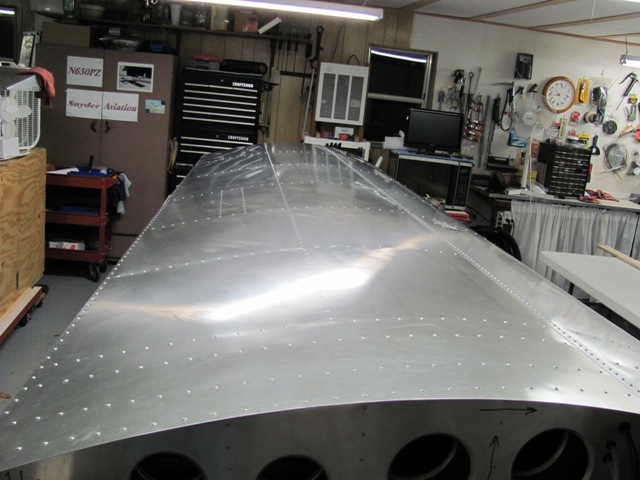 Sep 26, 2010 - Top skin all riveted except for flap and aileron hinge locations.
|
|
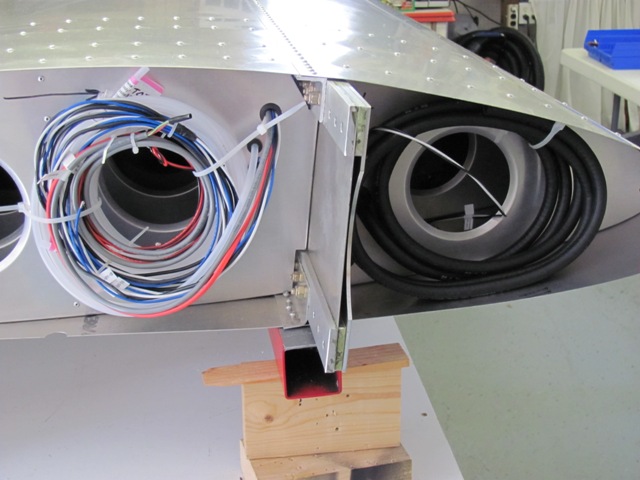
Sep 26, 2010 - Wiring and tubing secured until final assembly.
|
 Oct 2, 2010 - Drilled and cleco-ed mounting bracket for wing tip stobe lights.
|
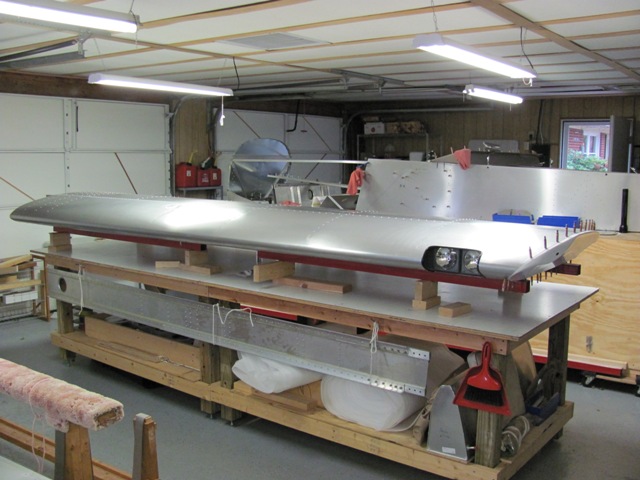 Oct 2, 2010 - First wing completed as much as can be until final assembly to fuselage.
|
 Oct 2, 2010 - Left (pilot side) wing placed in wing cradle for storage. Now, on to the right side wing, which I hope
will go much faster.
|
|
Enter supporting content here |