|
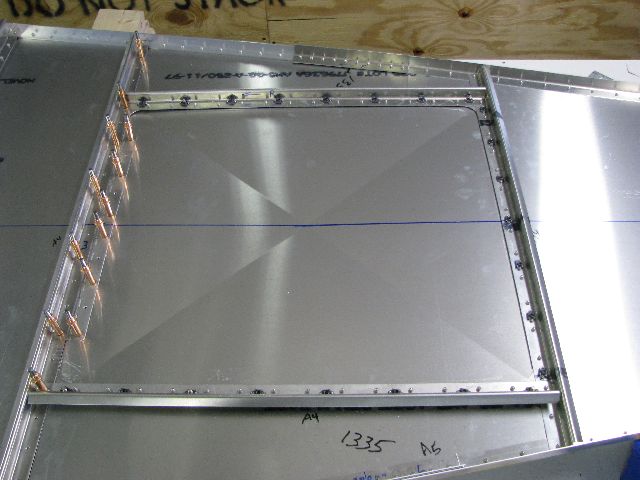 Mar 2, 2010 - Added bottom access door. Drilled & clecoed hinge, and added 23 nut plates around edge.
|
 Mar 2, 2010 - View of bottom, showing door will be secured with 10-32 screws.
|
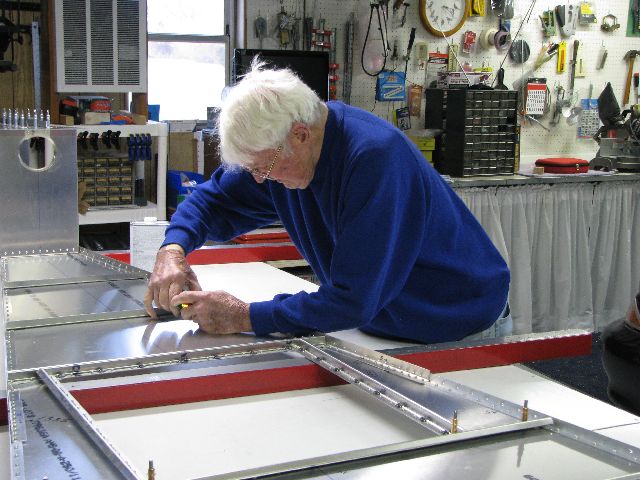
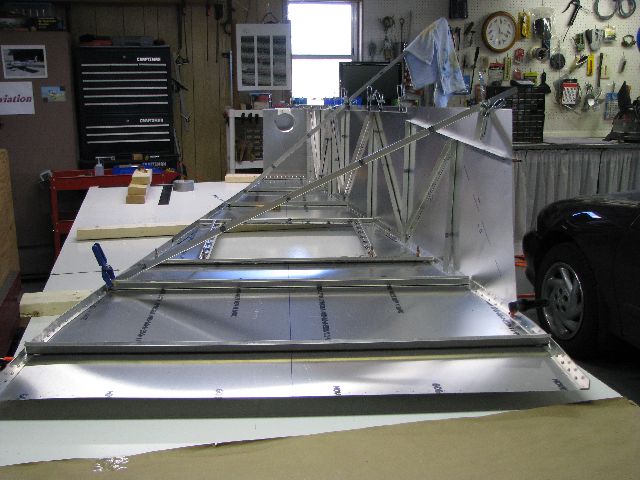 Mar 6, 2010 - Pilot side rear skin mated to bottom longeron, and braced until drilled and clecoed.
|
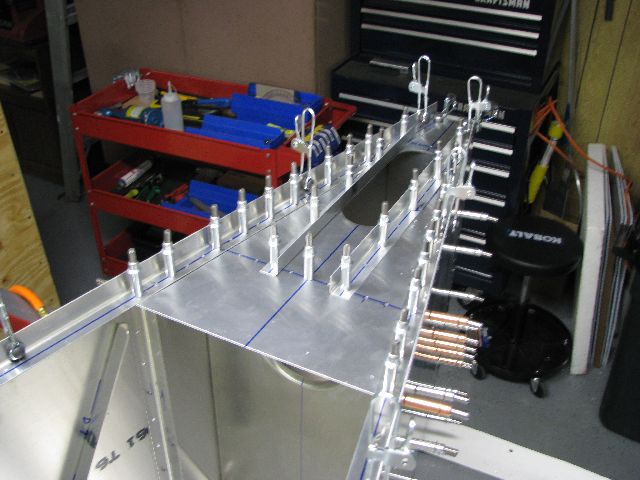
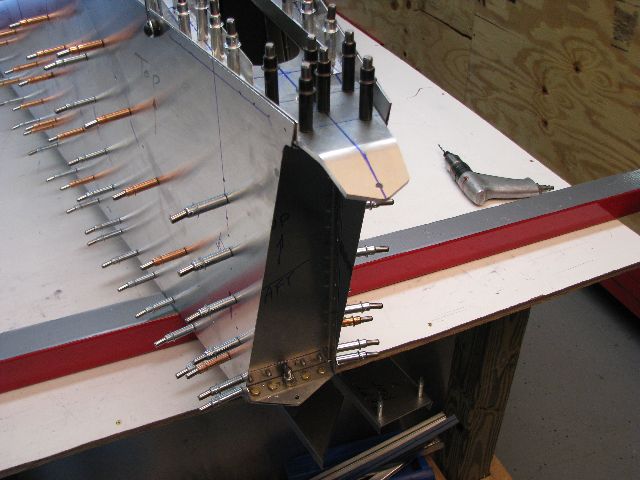
 Mar 6, 2010 - Top longeron is clamped to top of HT frames to provide proper alingment.
|
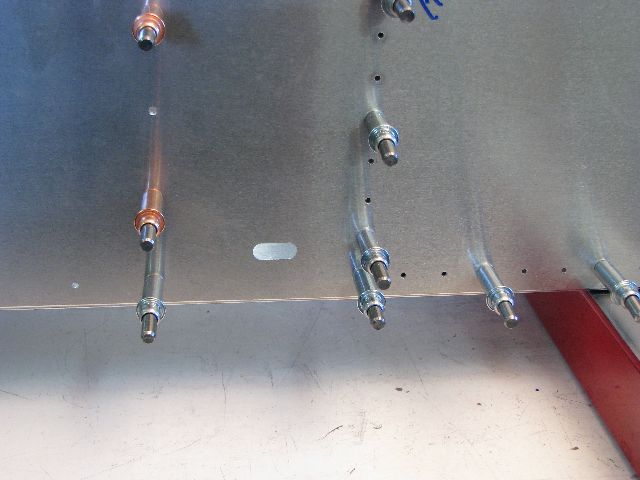
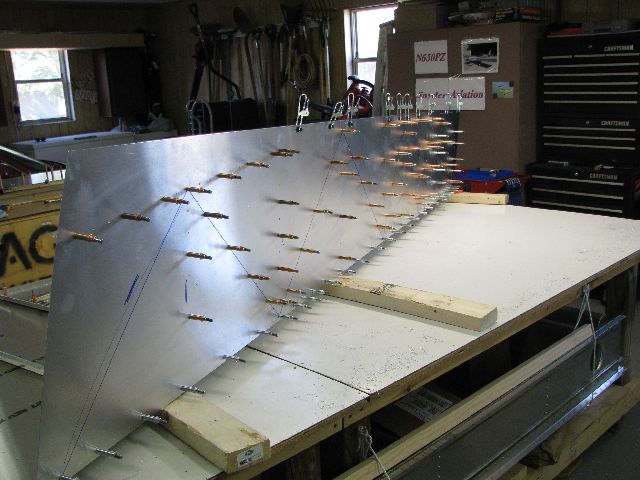 Mar 6, 2010 - Pilot side rear skin drilled and clecoed to bottom longeron. |
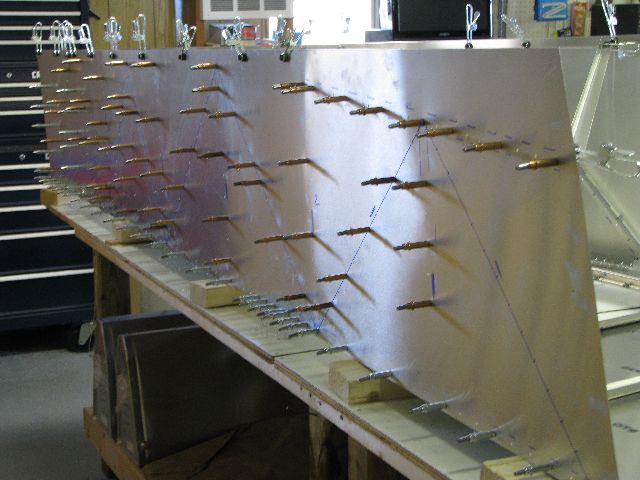 Mar 7, 2010 - Right side rear skin drilled and clecoed to bottom longeron.
|
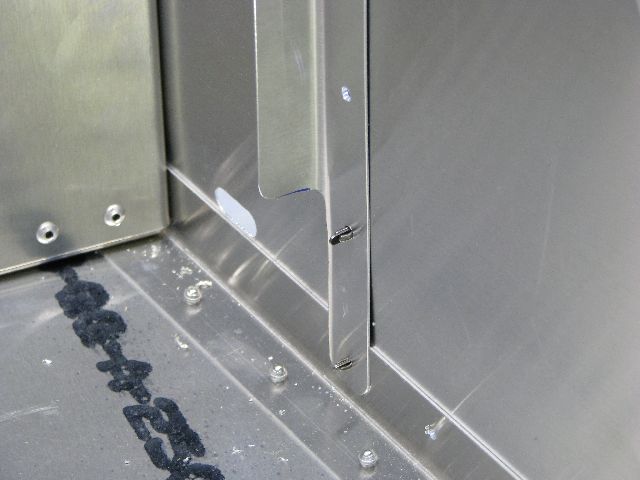 Mar 7, 2010 - Bottom of vertical "L" siffener trimmed back to allow clearance for rudder cable to exit through hole
is side.
|
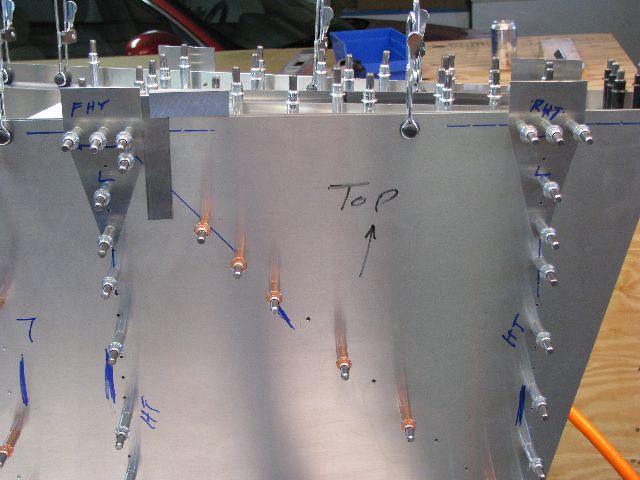
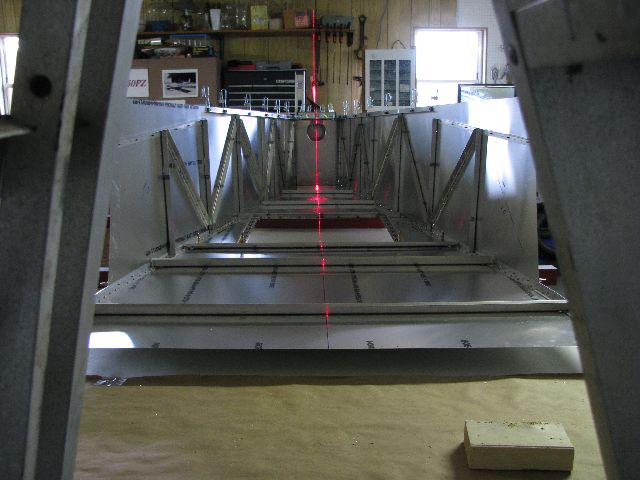 Mar 7, 2010 - Used laser line to keep everything straight and centered.
|
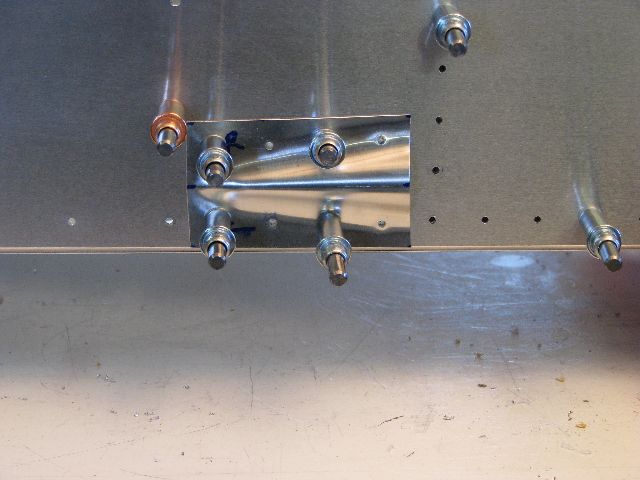
 Mar 7, 2010 - Rear panel 6B3-6 and additional stiffeners clecoed in place. Amazing how just a few pieces of material
can make a section very rigid.
|
 Mar 9, 2010 - Trimmed top and bottom rear longerons back to match side skins. Added upper rudder hinge.
|
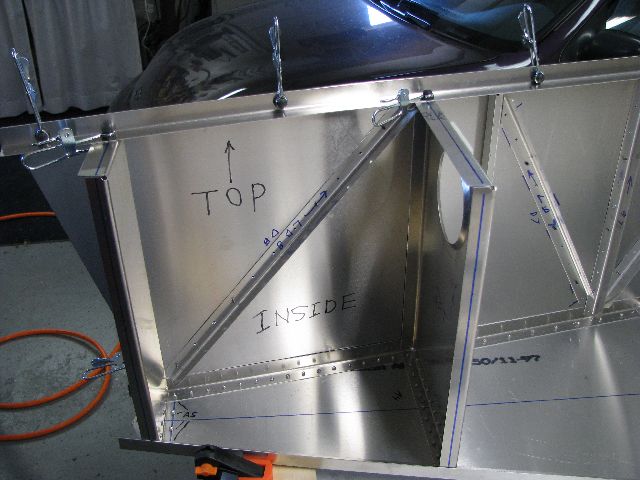
 Mar 9, 2010 - Added horizontal tail attachment brackets on left and right sides.
|
 Mar 10, 2010 - Exit hole for rudder cable.
|
 Mar 10, 2010 - Rudder cable fairing.
|
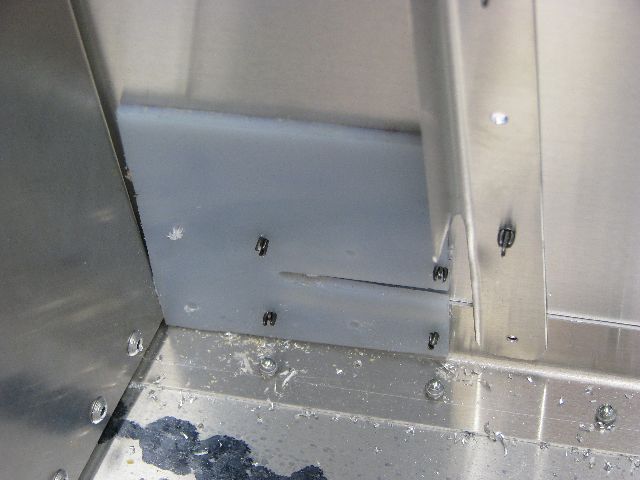 Mar 10, 2010 - This is a nylon fairlead inside the pilot side fairing. Also, another example of why the lower part of
stiffener needed to be trimmed back.
|
 Mar 11, 2010 - Here both sides have been disassembled for deburring prior to riveting. Clay Heathco helping debur bottom
longerons.
|
 Mar 12, 2010 - Both sides deburred and reassembled. Ready for rivets.
|
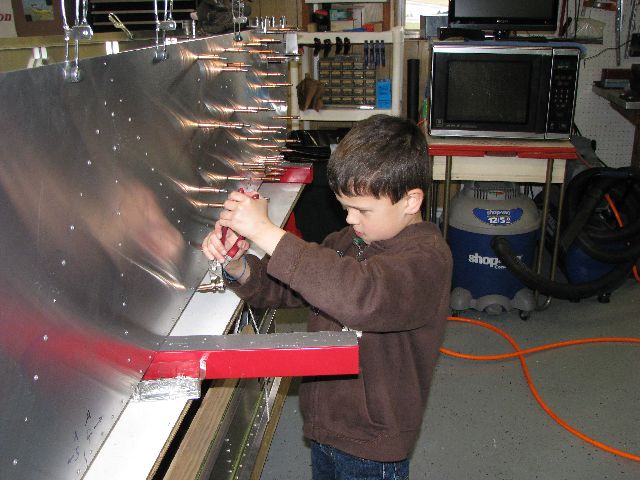 Mar 13, 2010 - My grandson, Jordan, helped remove clecos during the riveting process. Maybe the upside down technique
might work better.
|
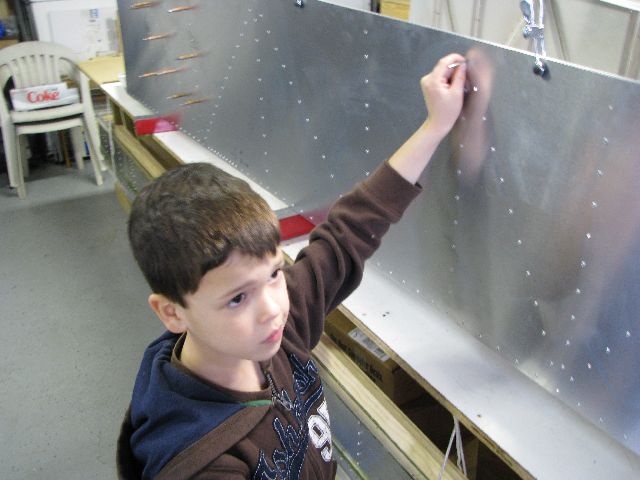 Mar 13, 2010 - Jordan inserting A4 rivets where the clecos were removed.
|
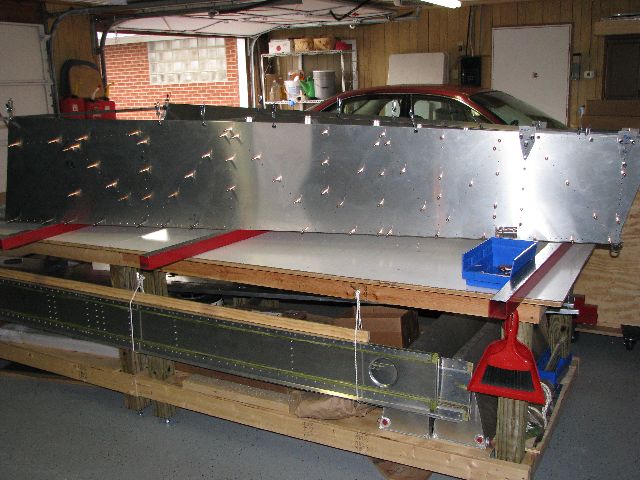
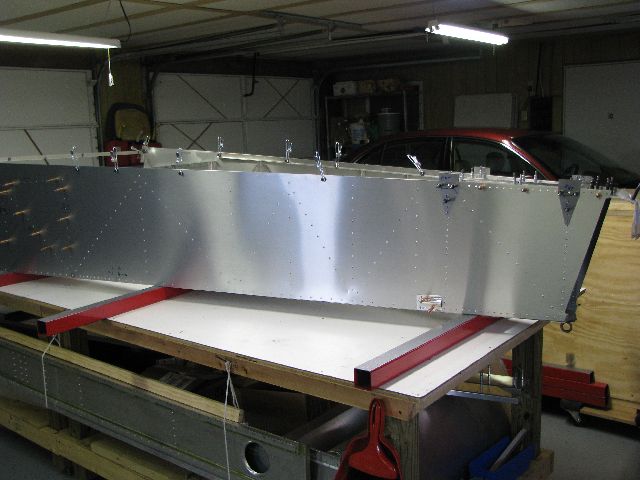 Mar 13, 2010 - Both sides riveted as far as can be as this stage,
|
 Mar 13, 2010 - The Horizontal Tail Attach Brackets and the Rudder Cable Failrings not riveted at this time.
|
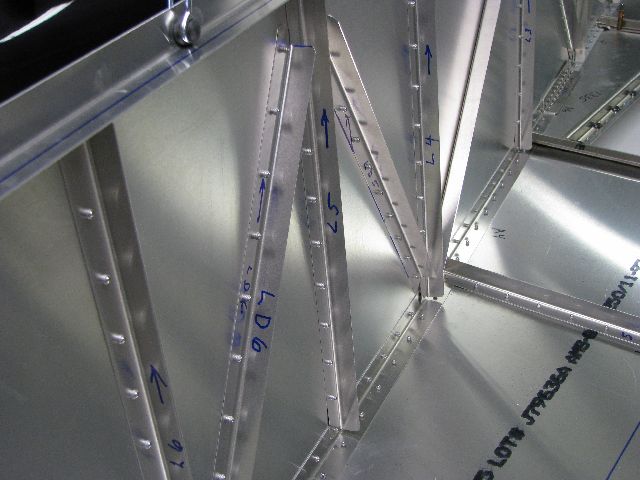 Mar 13, 2010 - Inisde view of siffener angles after riveting.
|
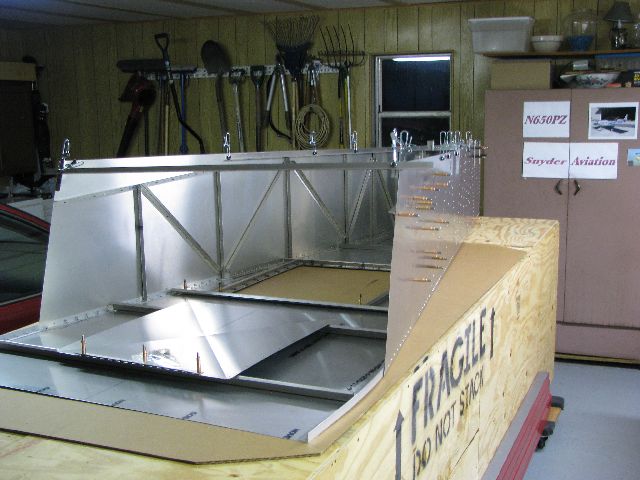 Mar 13, 2010 - Rear fuselage moved from work table to top of shipping crate for storage. Next project is building firewall, then nothing until wing mods are received. Must have new center section before working on the forward fuselage. |
|
Enter supporting content here |