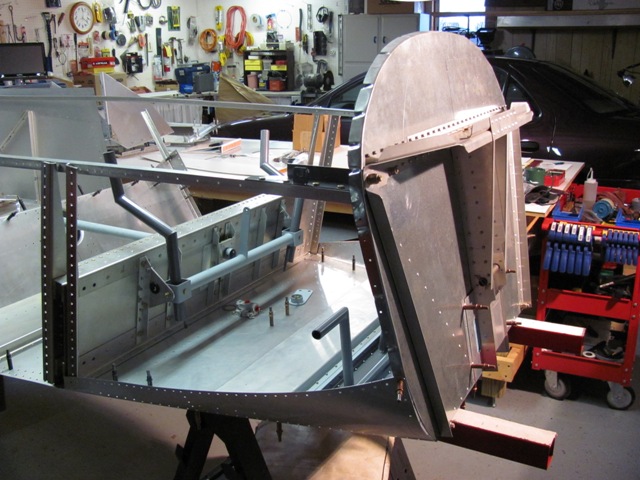
| Jan 1, 2012 - Re-attached firewall and top longerons. |
|
| Jan 1, 2012 - Bolted lower engine mounts to firewall and bottom
skin. |
|
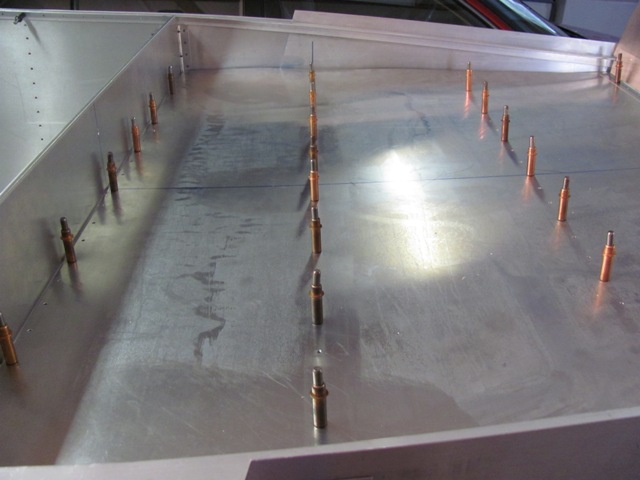
| Jan 1, 2012 - Riveted firewall to bottom skin. |
|
| Jan 1, 2012 - Riveted front & rear top longerons splice joint. |
|
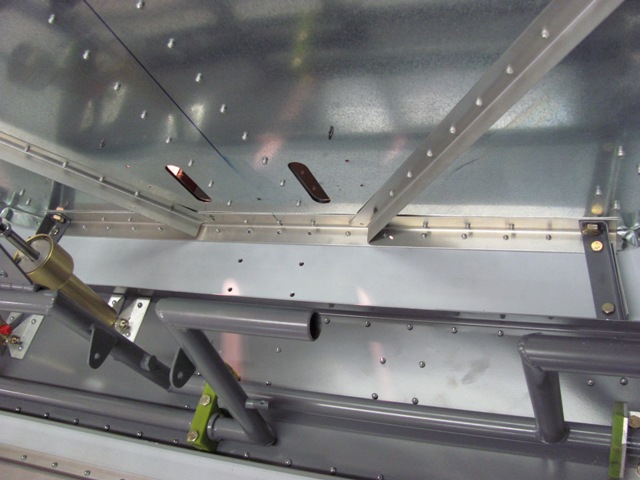
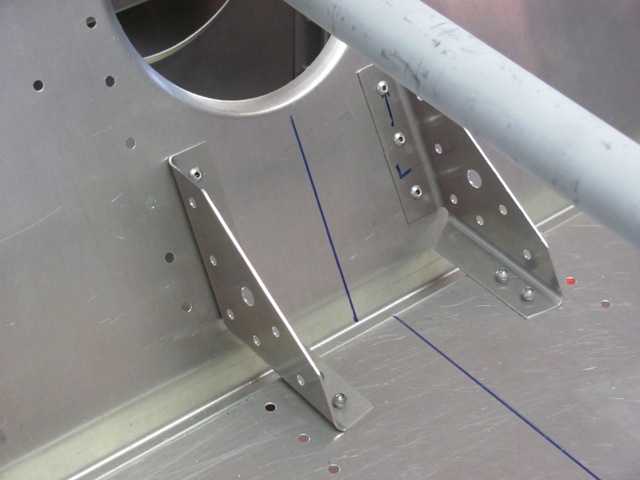
| Jan 1, 2012 - Riveted seat back support, uprights, and flap actuator
brackets. |
|
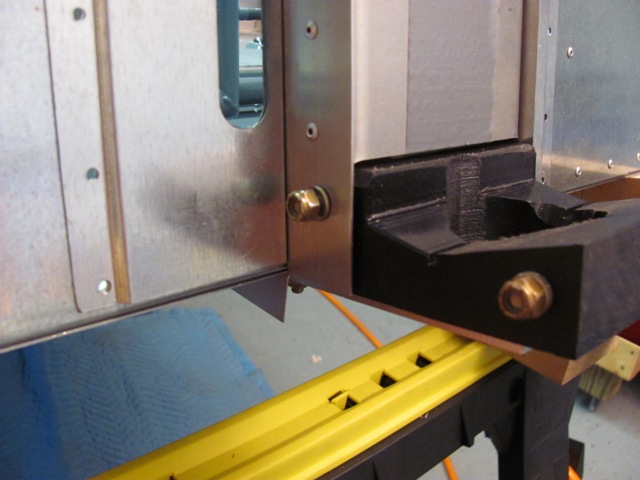
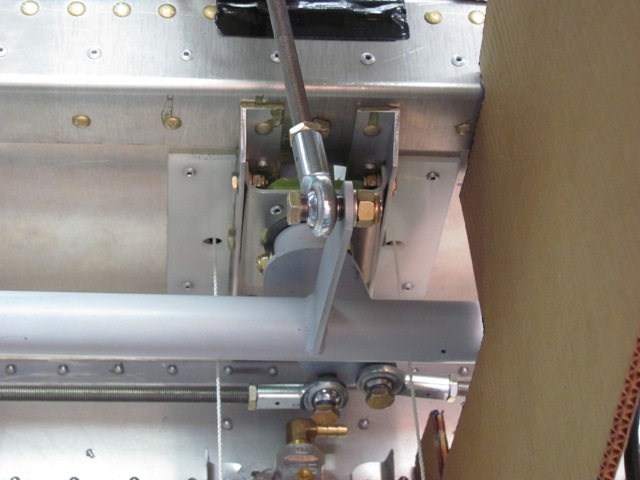
| Jan 1, 2012 - Flap actuator (motor) bracket (looking from rear). |
|
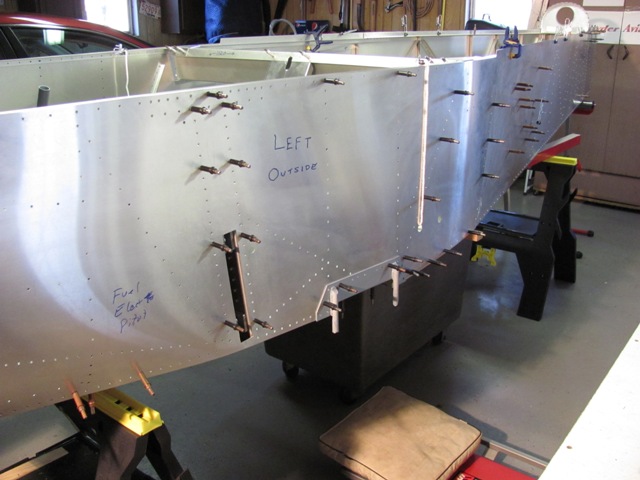
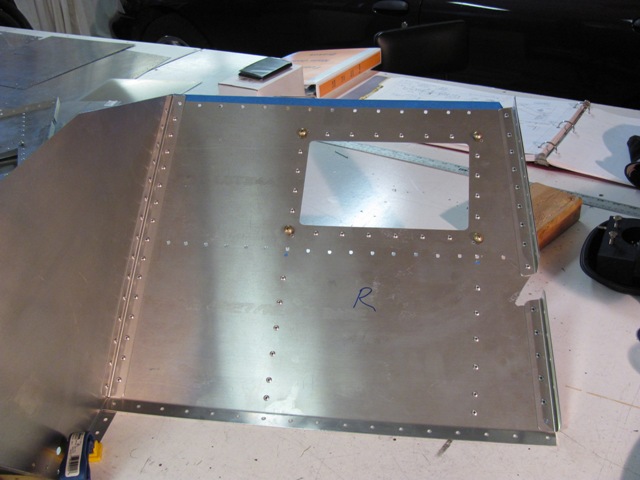
| Jan 4, 2012 - Installed front side skins and double checked fit. |
|
| Jan 1, 2012 - Riveted gear channel, permanently joining front fuselage
to rear. |
|
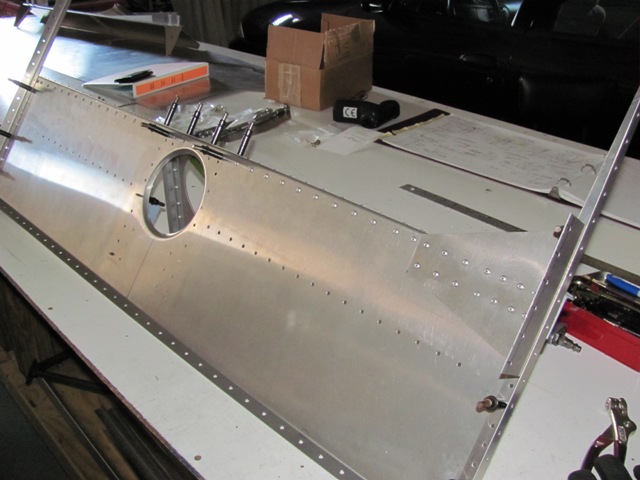
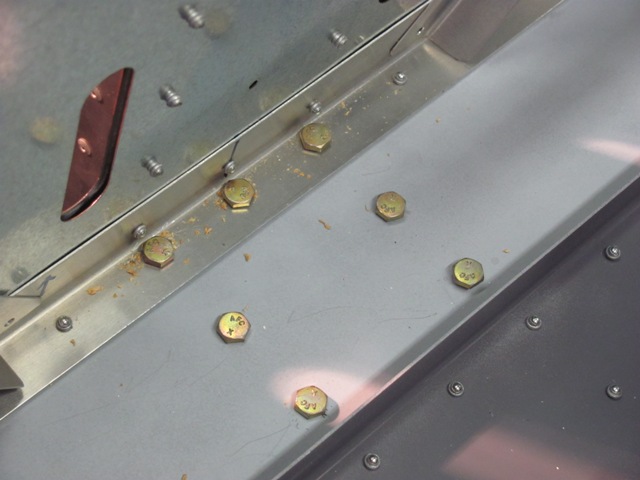
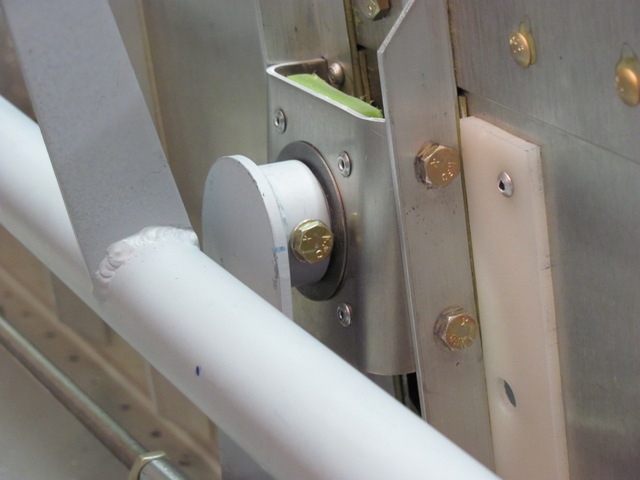
| Jan 1, 2012 - Installed nose wheel bearing bracket. |
|
| Jan 1, 2012 - Seven AN3 bolts holding nose wheel bearing bracket to firewall
and fuselage. |
|
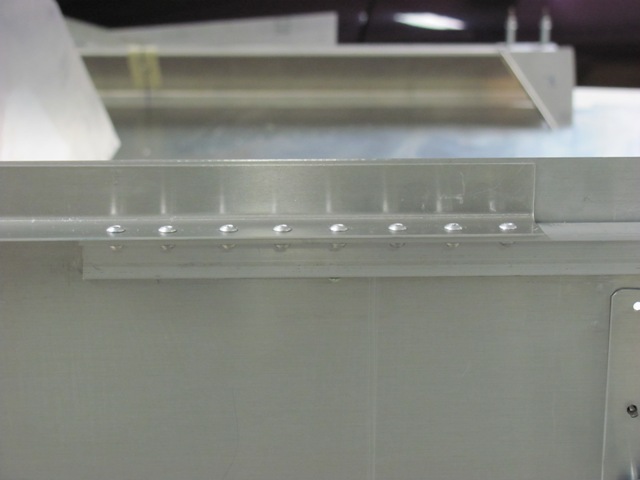
| Jan 7, 2012 - Riveted seat pan components together. |
|
| Jan 7, 2012 - Riveted inside seat belt brackets to seat back and gear
channel. |
|
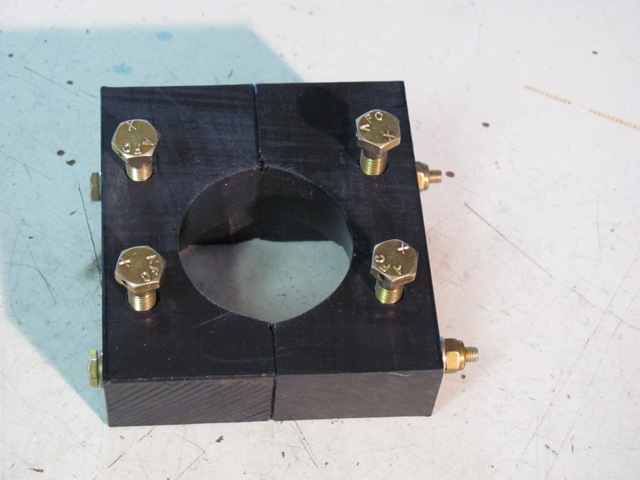
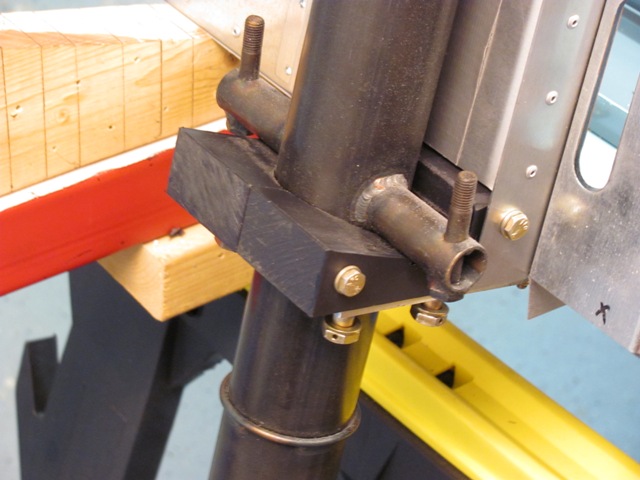
| Jan 9, 2012 - Drilled & tapped nose wheel strut bearing block for
AN5 bolts.. Drilled bearing bracket for AN 5 bolts. |
|
| Jan 9, 2012 - Drilled firewall bracket for AN3 pass thru bolt. |
|
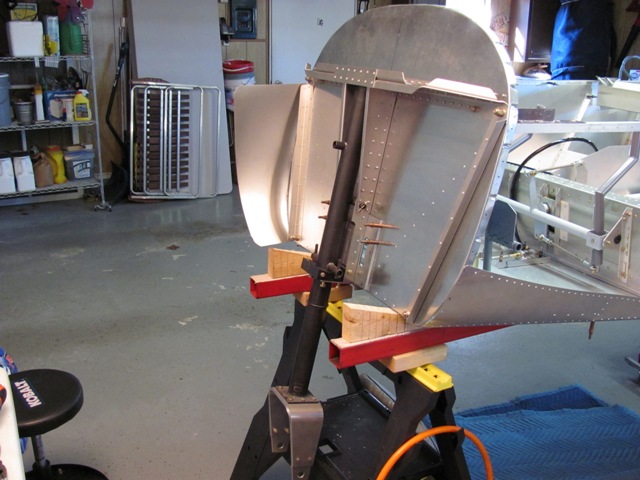
| Jan 9, 2012 - Temp installed nose wheel strut to check fit. |
|
| Jan 9, 2012 - Temp installed nose wheel strut to check fit. |
|
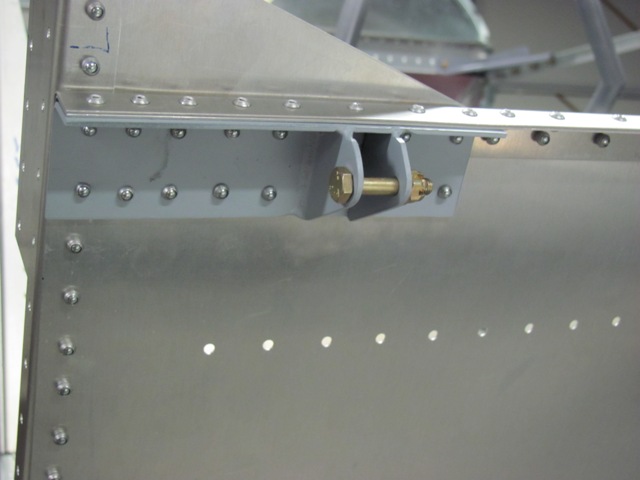
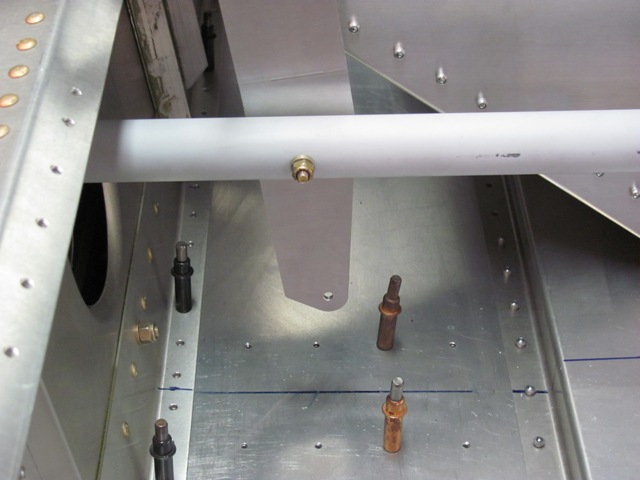
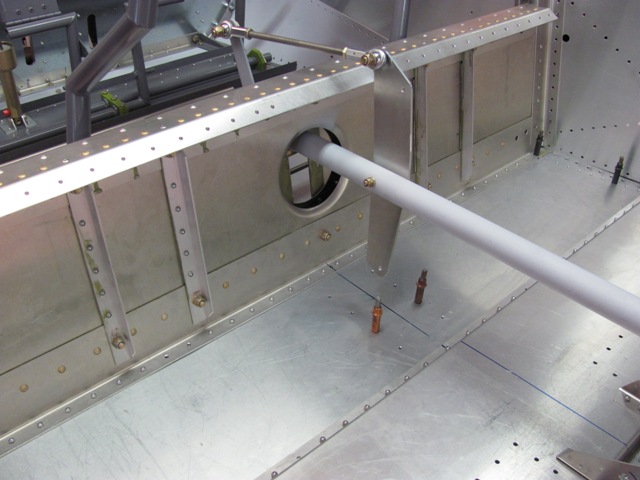
| Jan 11, 2012 - Installed stop ring at front of torque tube.
Installed control horn at front of torque tube. |
|
| Jan 11, 2012 - Installed elevator bell crank to torque tube. |
|
| Jan 11, 2012 - Installed linkage from control sticks to torque tube control
horn. |
|
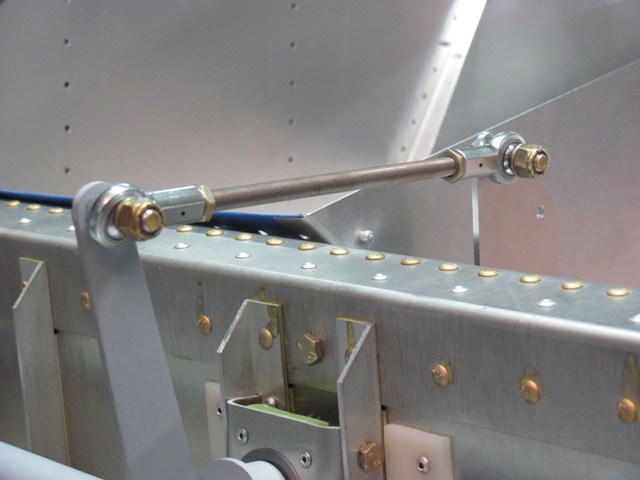
| Jan 11, 2012 - Installed linkage from control arm to elevator bell crank. |
|
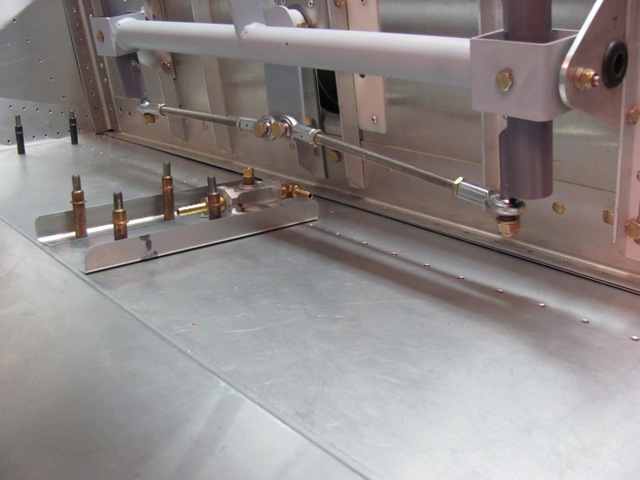
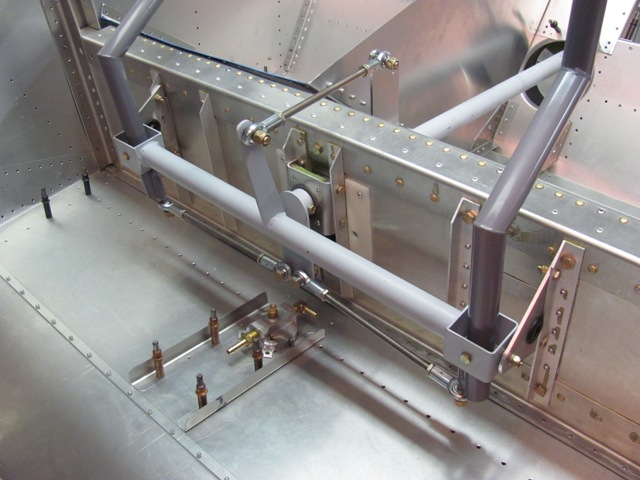
| Jan 11, 2012 - View of all flight control linkage. |
|
| Jan 12, 2012 - Riveted center spar section to bottom skin.
Missing rivets are where the support beams are. These will be filled later when beams removed. |
|
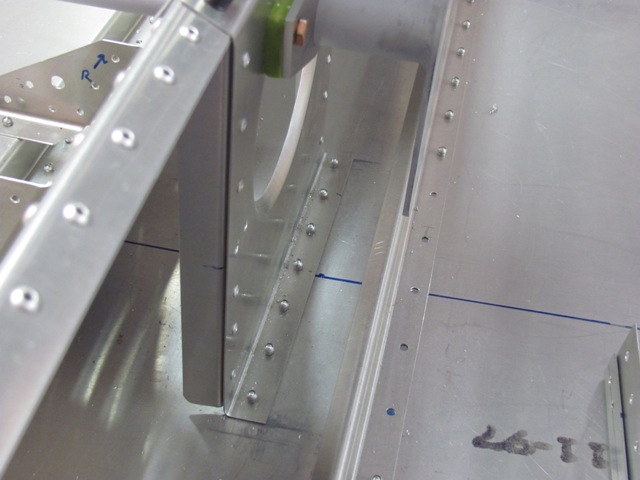
| Jan 13, 2012 - Riveted torque tube rear bearing support to bottom. |
|
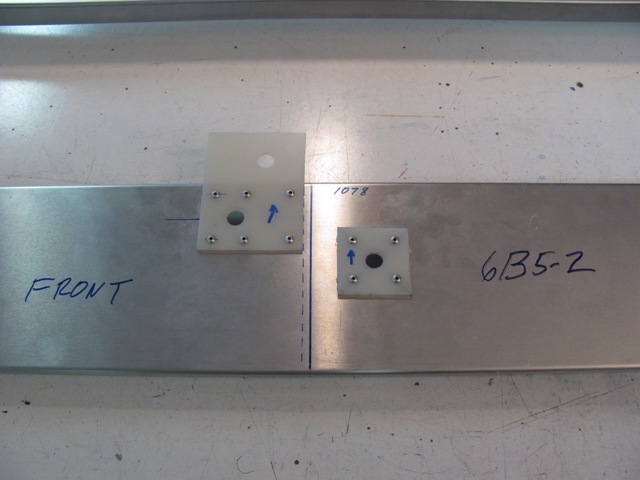
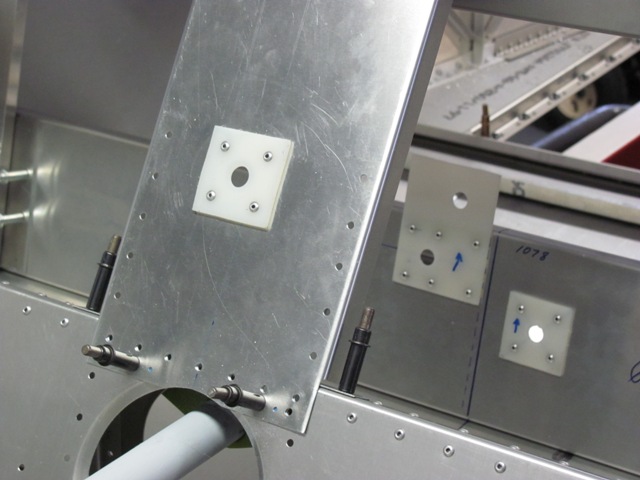
| Jan 13, 2012 - Fabricated fairleads for rudder & elevator, and riveted
to rear frame channel. |
|
| Jan 13, 2012 - Fabricated Front Lower Elevator fairlead, and riveted
to Center Seat Back Channel. |
|
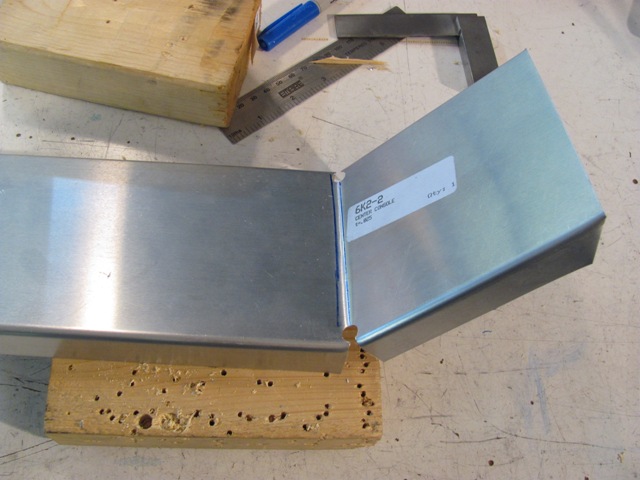
| Jan 14, 2012 - Center Console cut and bent. |
|
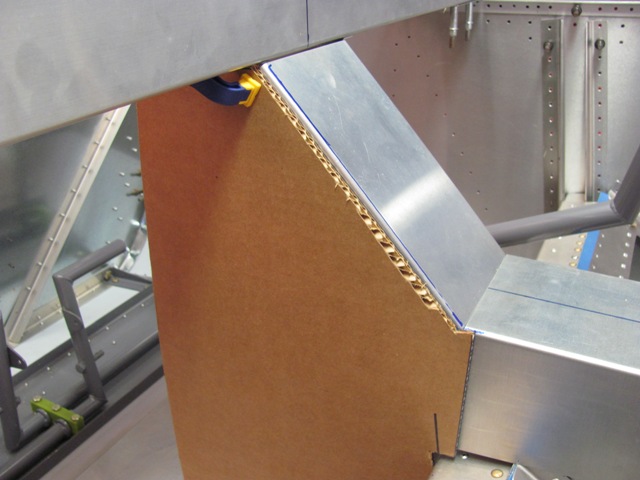
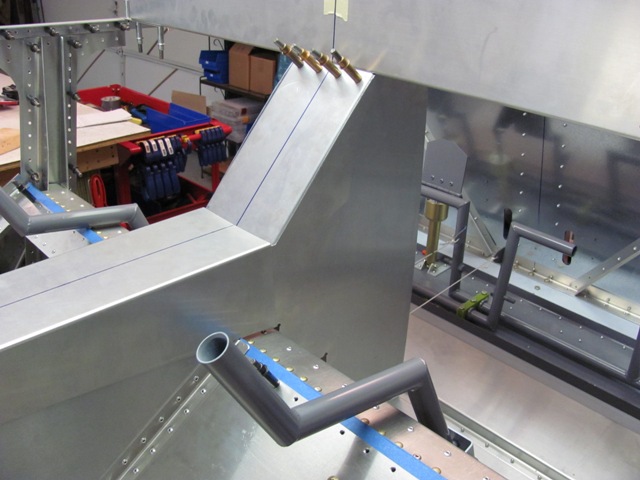
| Jan 14, 2012 - Fabricated cardboard template for Center Console fairing. |
|
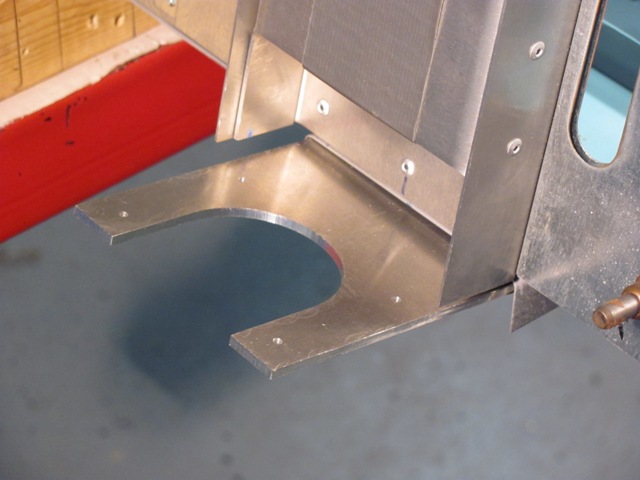
| Jan 14, 2012 - Cutout in fairing to clear control tube and linkage. |
|
|
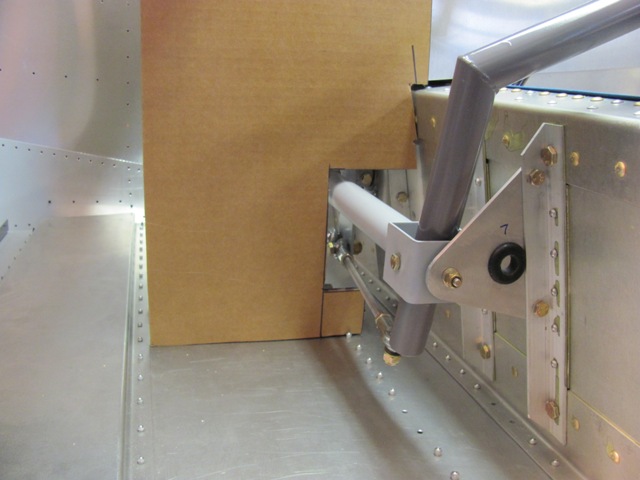
| Jan 15, 2012 - Center Console joined to Panel , |
|
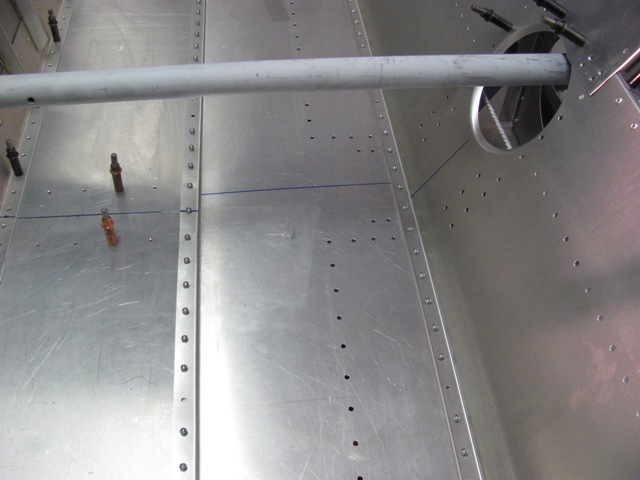
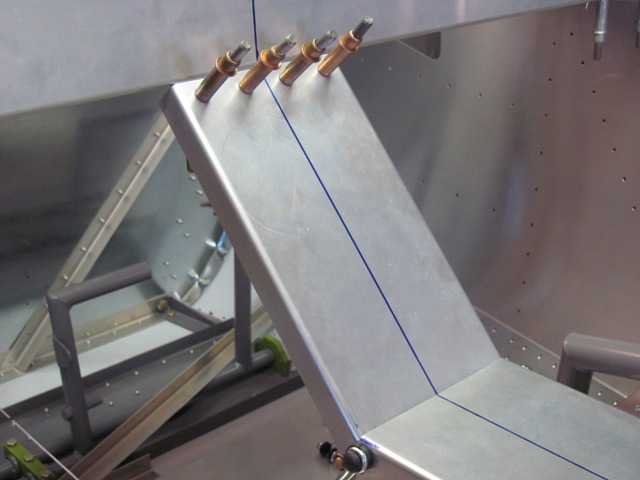
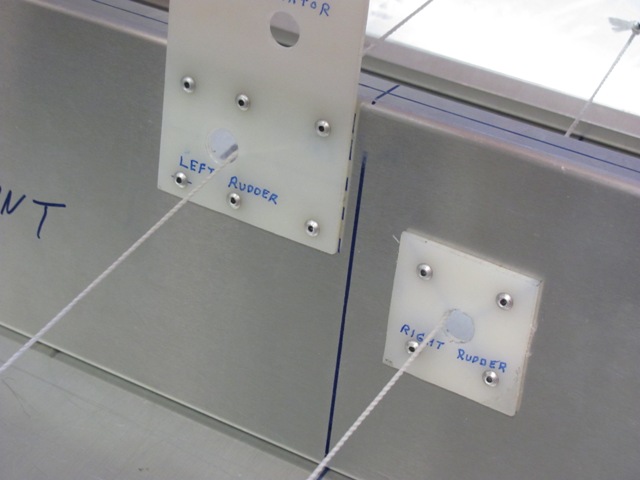
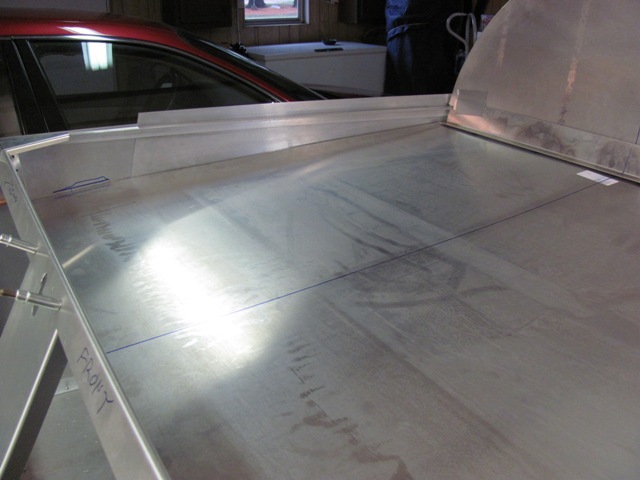
| Jan 15, 2012 - Ran string from rudder pedals thru fairleads toward back. |
, |
|
| Jan 15, 2012 - Ran string from rudder pedals thru fairleads toward back. |
|
| Jan 15, 2012 - "Rudder Cable" string
crossed and exiting through fairleads in tail section. |
|
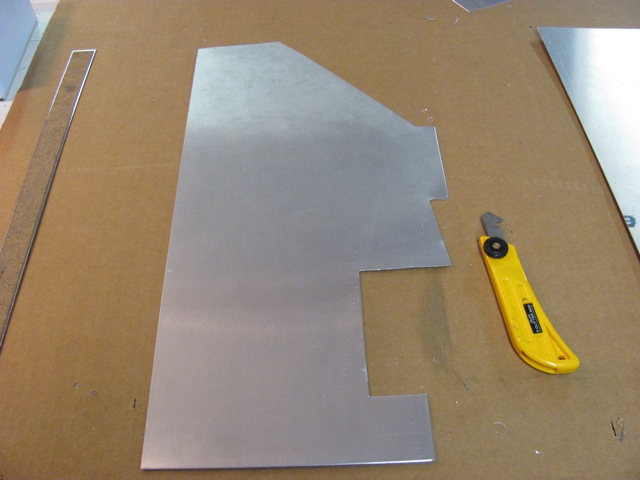
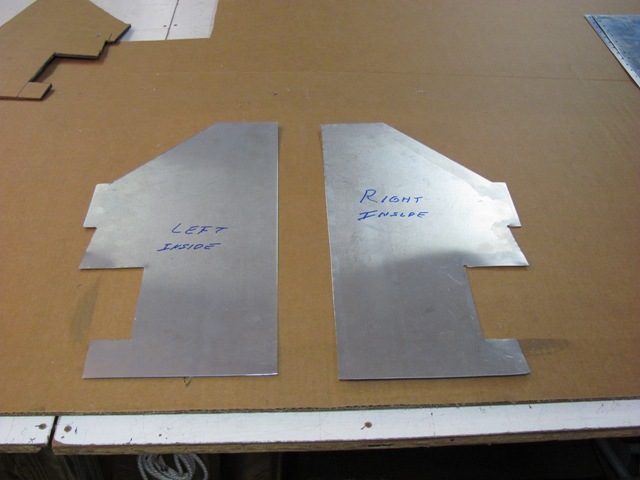
| Jan 16, 2012 - From the cardboard template I made earlier, I cut .025"
sheet material to make side faairing for the center console. |
|
| Jan 16, 2012 - After several tweaks, I was finally satisfied with the
fit. Using the first cutout, I made a duplicate for the right side. |
|
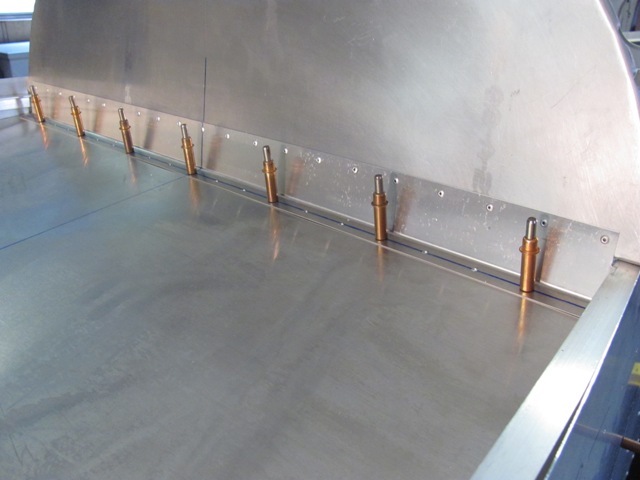
| Jan 16, 2012 - View of center console side fairings clamped in place. |
|
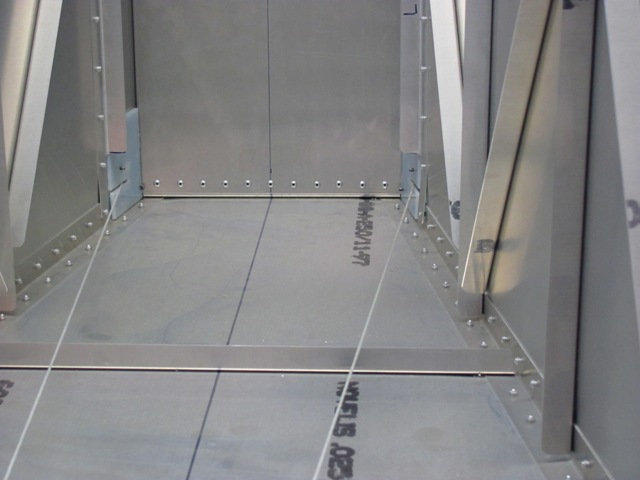
| Jan 17, 2012 - Re-trimmed and fit baggage floor. |
|
| Jan 21, 2012 - Drilled & riveted baggage bulkhead to support angle..
Drilled & clecoed angle to baggage floor. |
|
| Jan 22, 2012 - Baggage floor clecoed back in place with additional reinforcing.. |
|
| |
|