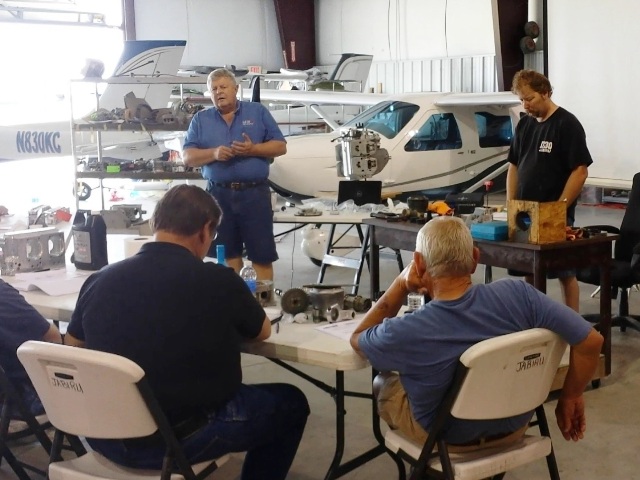
| May 16, 2015 - Went to Jabiru USA in Shelbyville, TN to attend a two day Jabiru Engine Maintenance and Overhaul
course. Extremely beneficial course. |
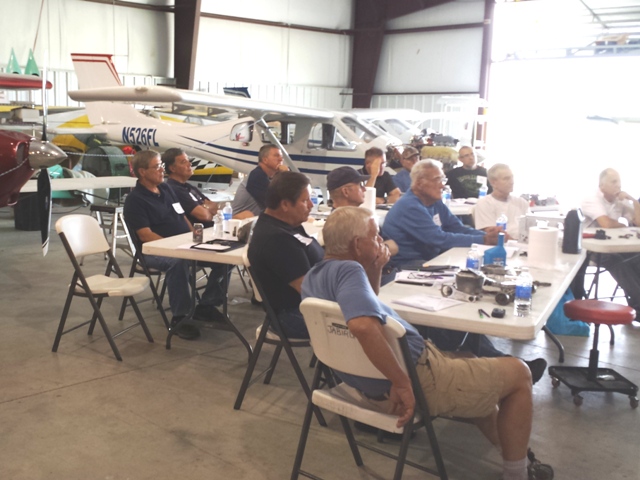
| May 16, 2015 - Class size limited to 15. Empty chair is mine, Next to me
was friend and EAA Tech Advisor, Gary Reynolds. |
| May 16, 2015 - The last portion of the second day was spent assembling an engine from the crankshaft out.
We used a four cylinder. Mine is a six. |
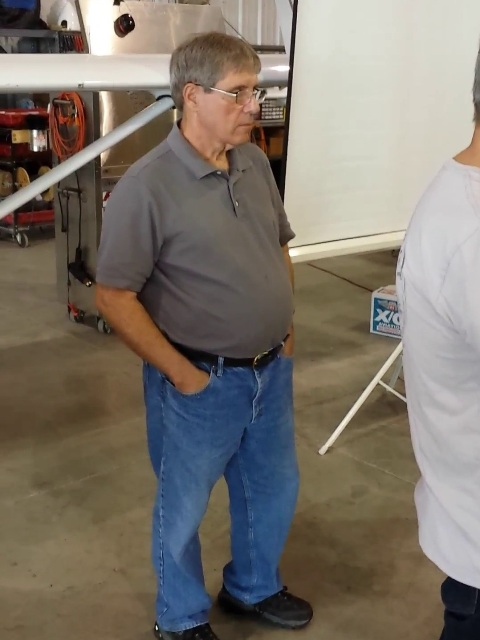
| May 16, 2015 - Gary Reynolds observing the process. |
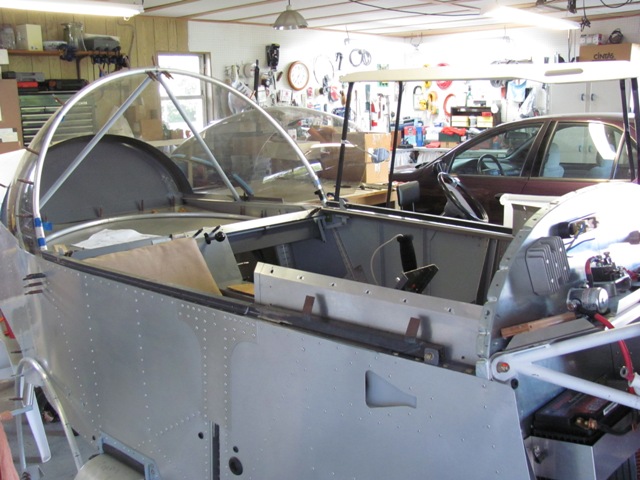
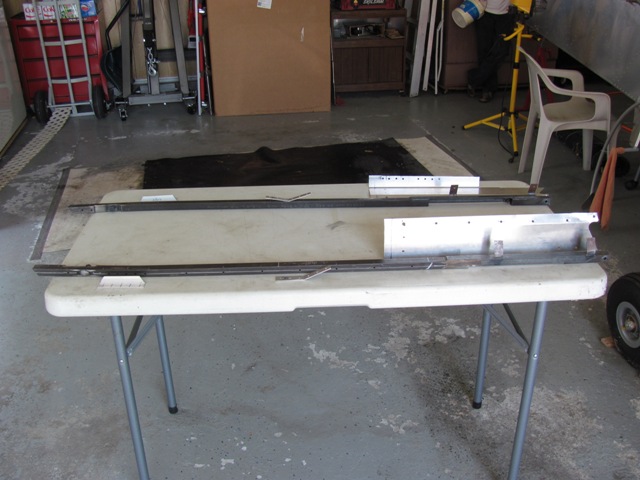
| May 23, 2015 - Removed canopy to gain access to side frame arms and other pieces for painting. |
| May 24, 2015 - Removed canopy side frame arms and adjacent pieces. |
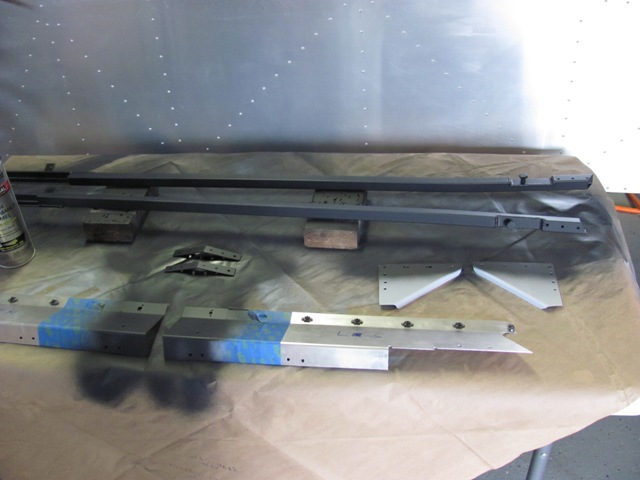
| May 25, 2015 - Painted canopy side frames flat black. |
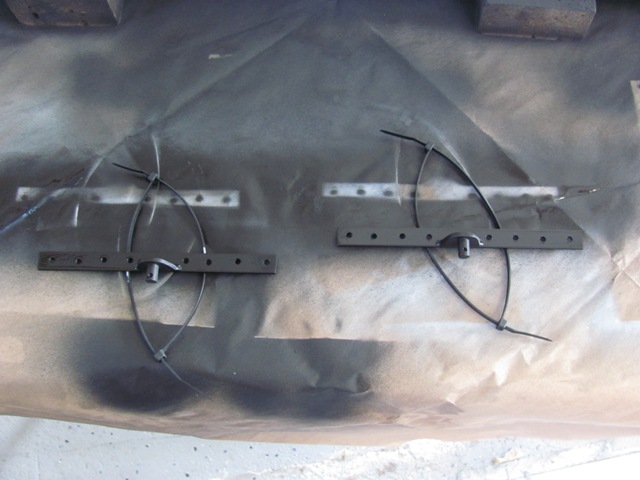
| May 27, 2015 - Painted base plates for the canopy side rail pneumatic opener mounts. |
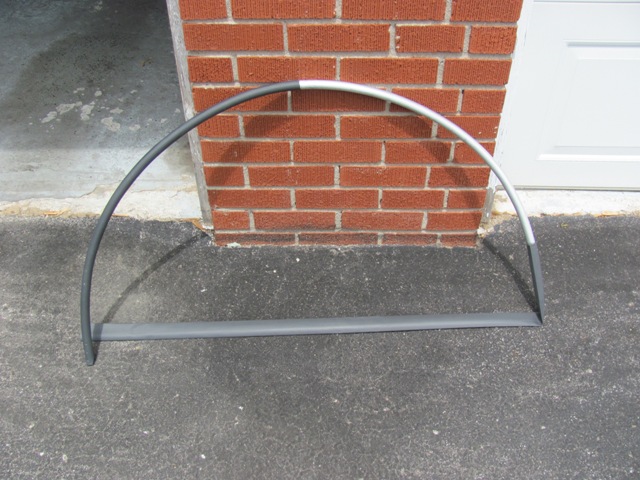
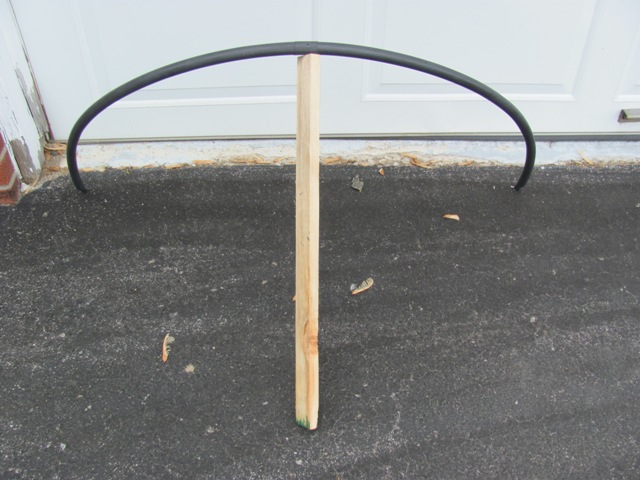
| May 27, 2015 - Covering canopy front hoop with 1 inch heat shrink tubing. Two pieces required,
overlapping in center. |
| May 27, 2015 - Completed heated shrinked hoop. The heat shrink provides a durable, soft buffer
between the aluminum hoop and the plastic canopy. |
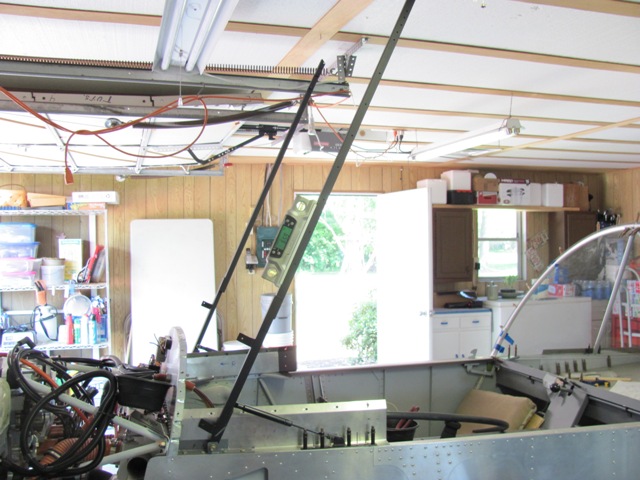
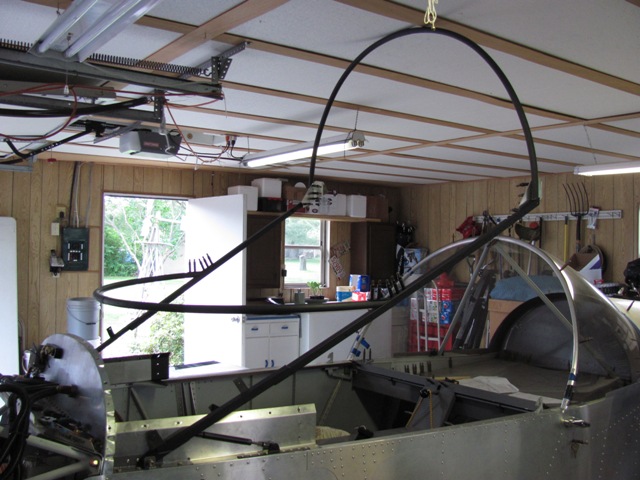
| May 28, 2015 - Installed the newly painted canopy side rail arms. Approximately 66 degrees when
fully open. |
| May 28, 2015 - Canopy frame partially opened. |
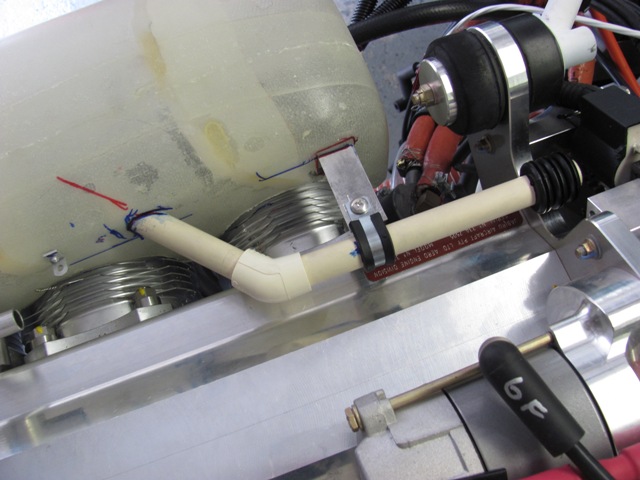
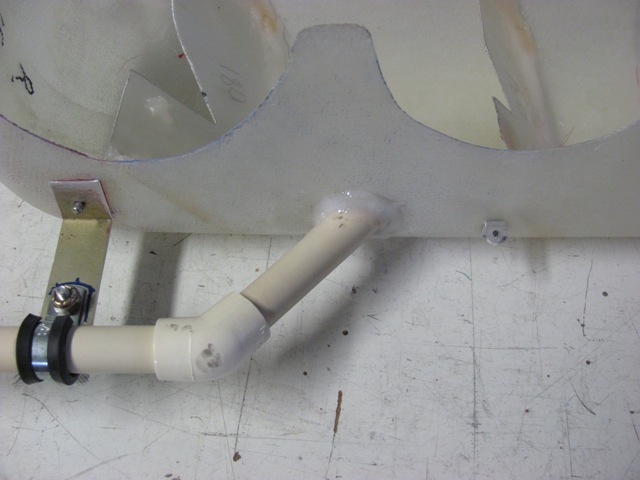
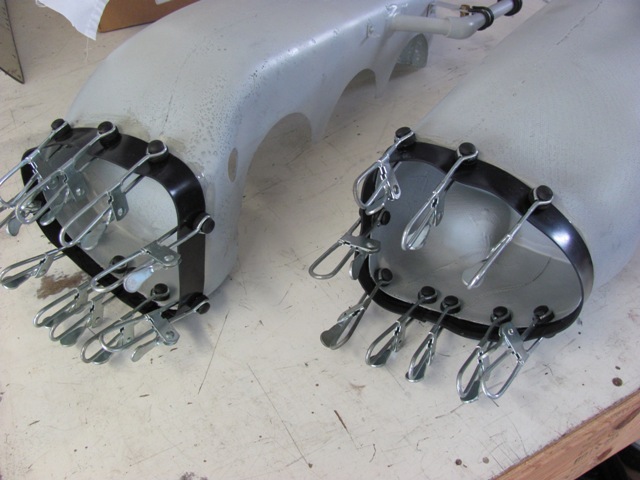
| Jun 14, 2015 - Fabricating cool air blast tube for right side ignition coil. Use 1/2 inch cold
water PVC pipe. Needs to be cleaned and epoxied. |
| Jun 17, 2015 - Loctite 5 minute epoxy and cotton flock. |
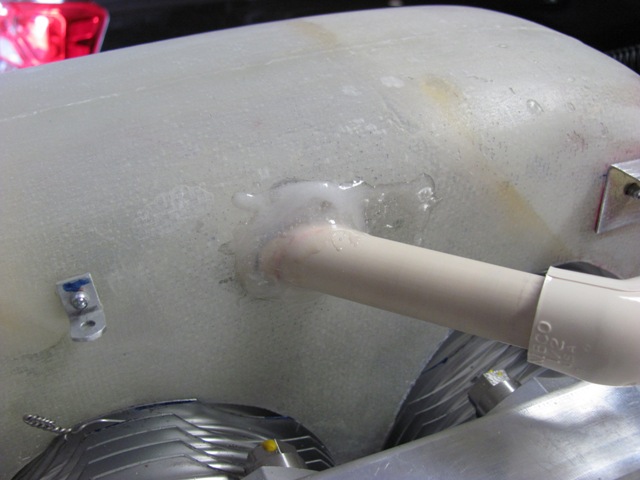
| Jun 17, 2015 - Epoxy mix used to secure blast tube into ram air duct. |
| Jun 17, 2015 - Left side blast tube after epoxy. |
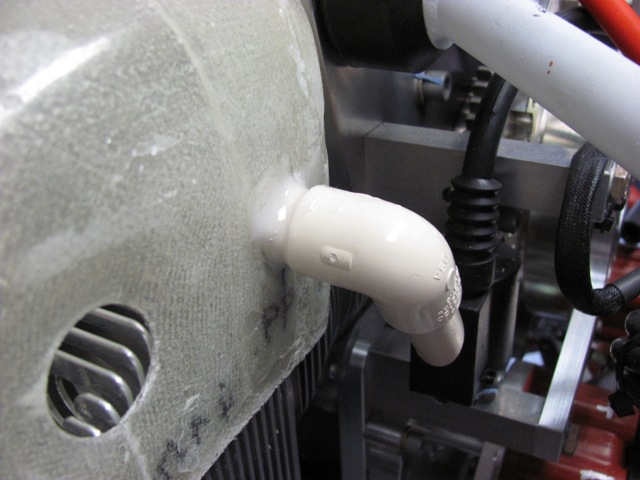
| Jun 17, 2015 - Right side blast tube and air duct. |
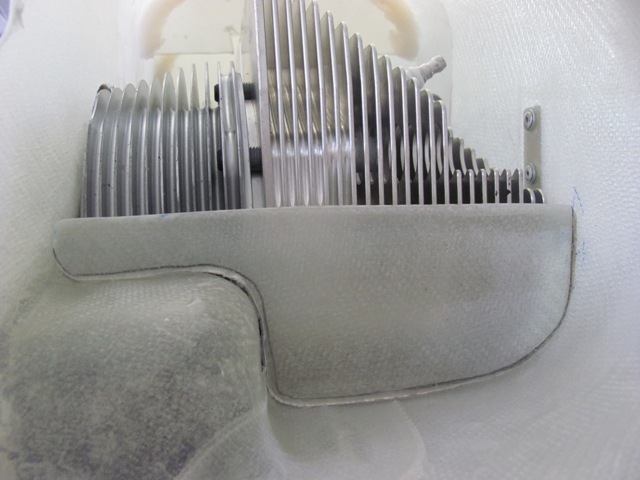
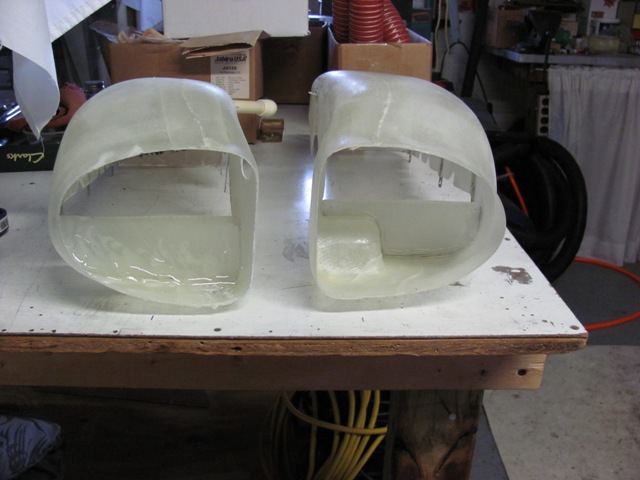
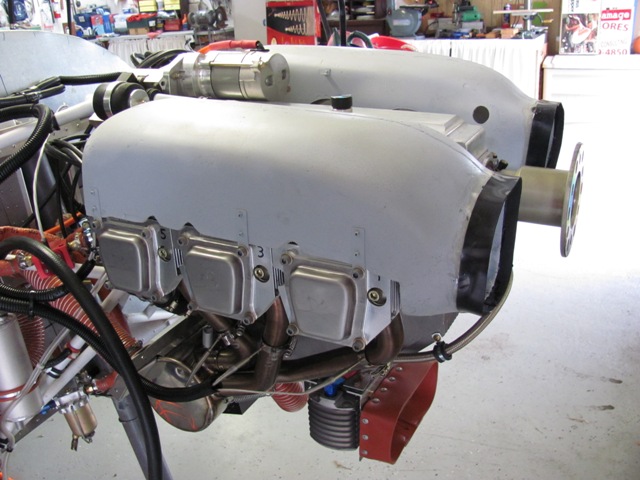
| Jun 18, 2015 - Fabricating front dam for left side ram air duct. These dams are to direct the
air up and over the cylinders. |
| Jun 18, 2015 - Fabricating front dam for right side ram air duct. |
| Jun 18, 2015 - Front dams epoxied in place. |
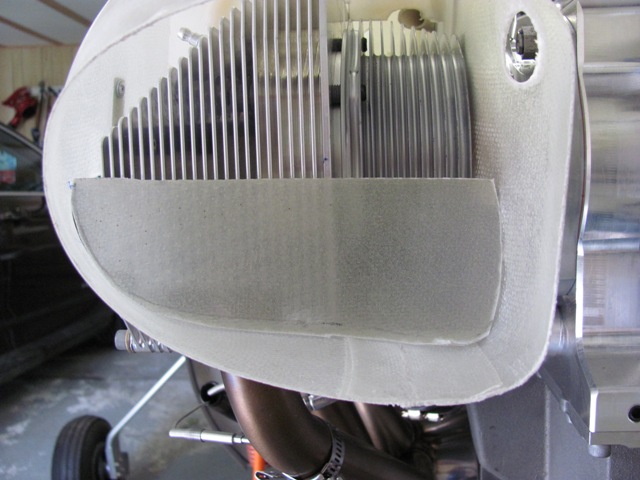
| Jun 19, 2015 - Affixed rubber baffle material around front openings to form a seal with the engine cowl.
Used 5 minute epoxy. |
| Jun 19, 2015 - Installed spark plug wires. |
| Jun 19, 2015 - Plug wires existing back of air duct through rubber grommet. |
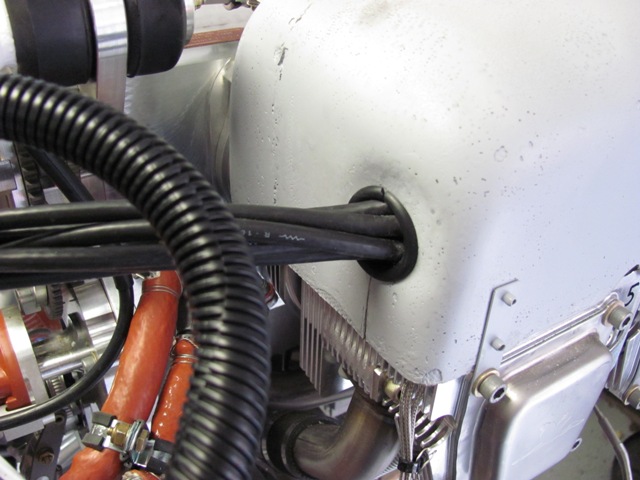
| Jun 19, 2015 - Pic of the ram air ducts permanent installation, showing the front cowl seals. |
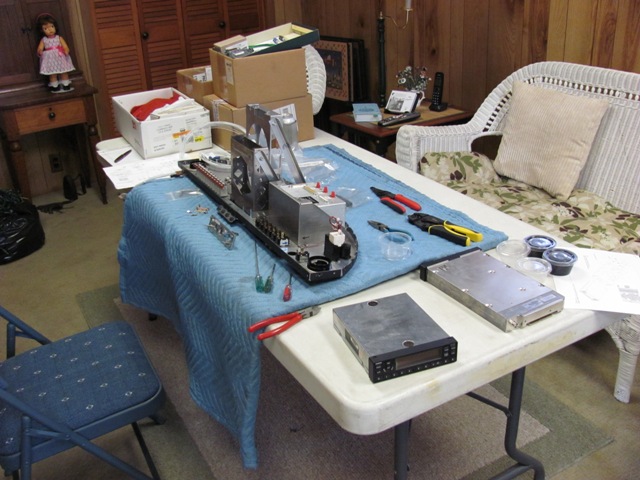
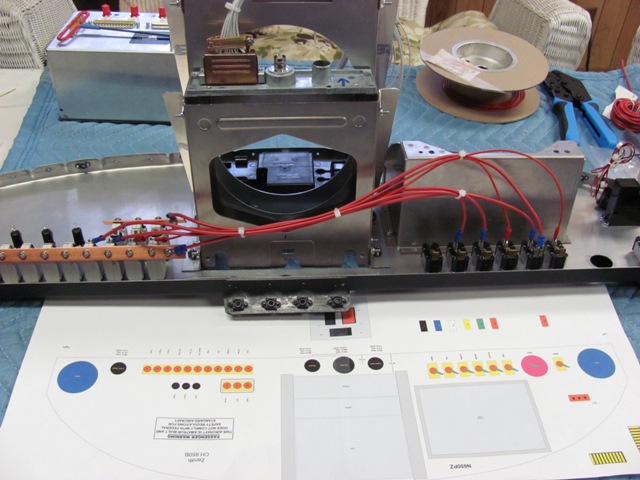
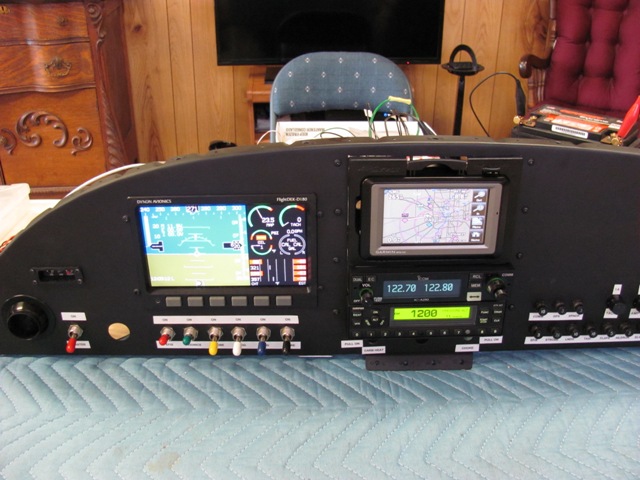
| Jun 24, 2015 - Preparing to start wiring the avionics and panel electrics. |
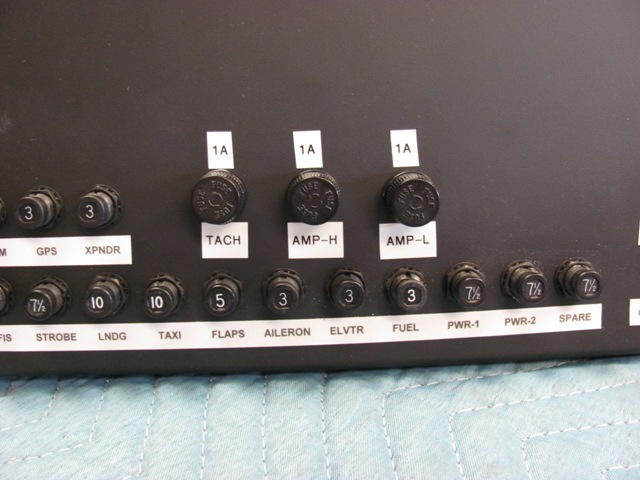
| Jun 25, 2015 - Installed three fuse holders in the panel. These will provide the "in-line"
fuses recommended by the Dynon installation manual. |
| Jun 26, 2015 - Wiring between switches and circuit breakers. |
| Jun 26, 2015 - Installed Dynon unit, and attached EFIS & EMS wiring harnesses. The open
connector is for the CHT/EGT harness. |
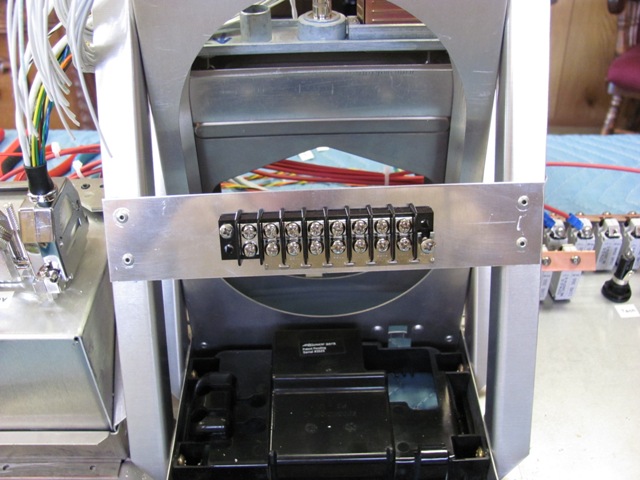
| Jun 27, 2015 - Installed ground buss on the avionics mounting bracket. |
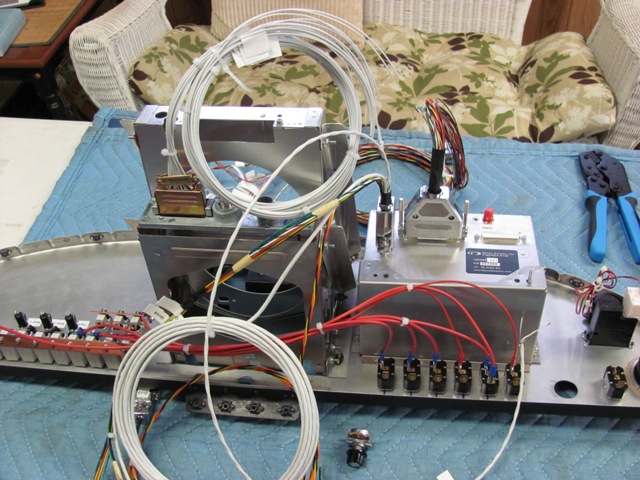
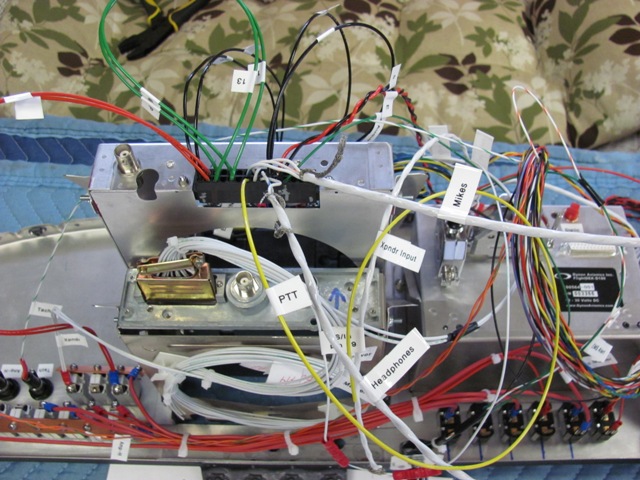
| Jul 5, 2015 - Various grounding connections for the avionics. |
| July 5, 2015 - All avionics interconnections made, headset wiring to radio harness,
and all other wiring that can be done on the bench has been made. Everything requires installation in
the plane. |
|
| Jul 5, 2015 - Hooked up battery and tested turn-on capability, |
|
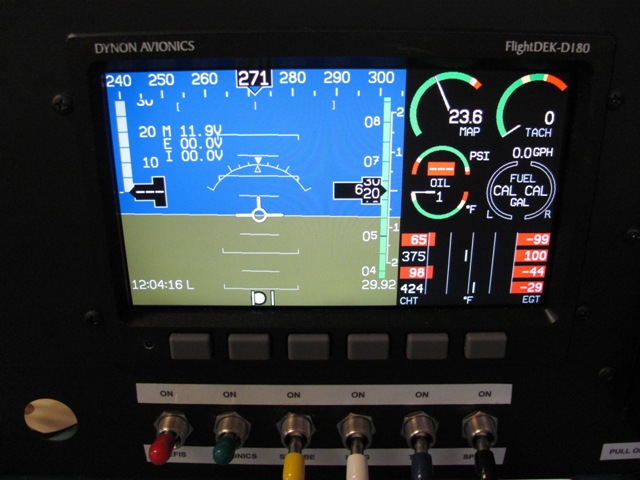
| ul 5, 2015 - The Dynon D-180 EFIS/EMS unit in raw state with no sensors attached. |
|
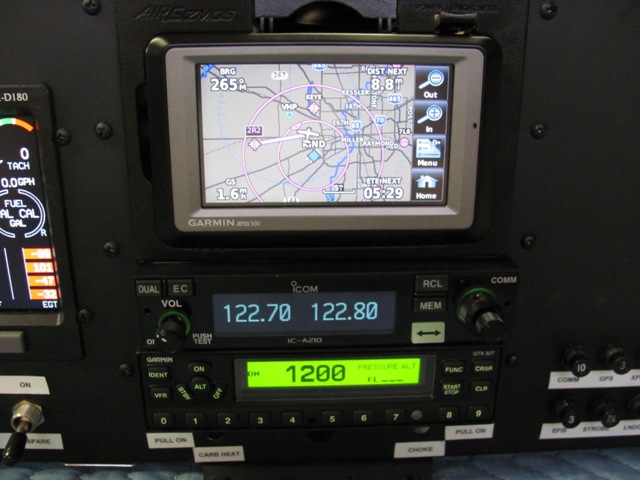
| Jul 5, 2015 - Garmin Aera 500 GPS, ICOM A210 radio, and Garmin GTX 327 transponder. |
|
|