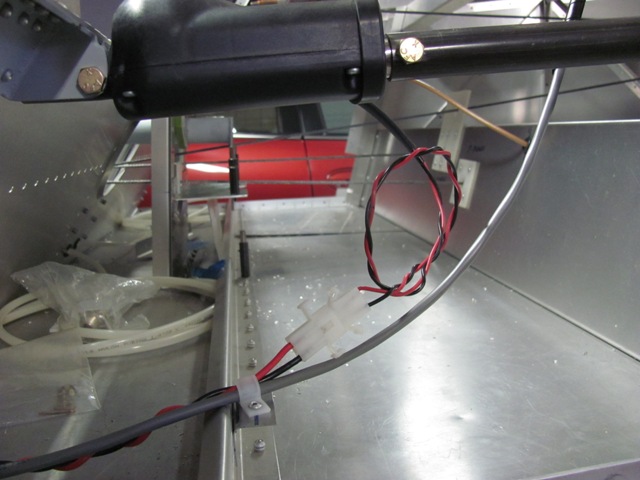
| Dec 2, 2012 - Installed Molex connector and ran 16 ga. wire for flap
motor. |
|
| Dec 7, 2012 - Removed flap control torque tube and mechanism,and
prime painted the parts. |
|
| Dec 8, 2012 - Installed rubber grommets in side skins. |
|
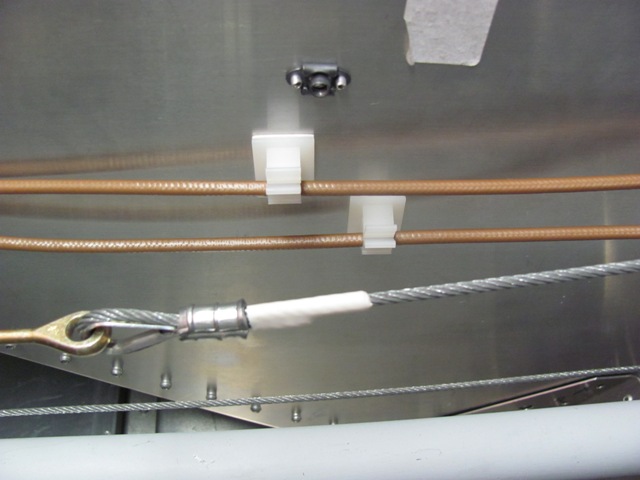
| Dec 9, 2012 - Installed nylon fairleads in side skin for aileron control
cables. |
|
| Dec 10, 2012 - Installed fairleads in side skin for aileron control
cables. |
|
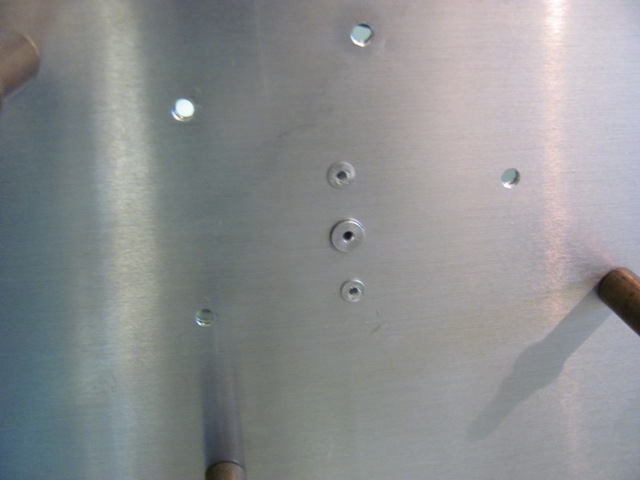
| Dec 10, 2012 - Installing two static ports, one of each side of fuselage. |
|
| Dec 10, 2012 - Port protrudes through 1/4 in. hole in side skin.
Held in place with two 3/32 in. rivets. |
|
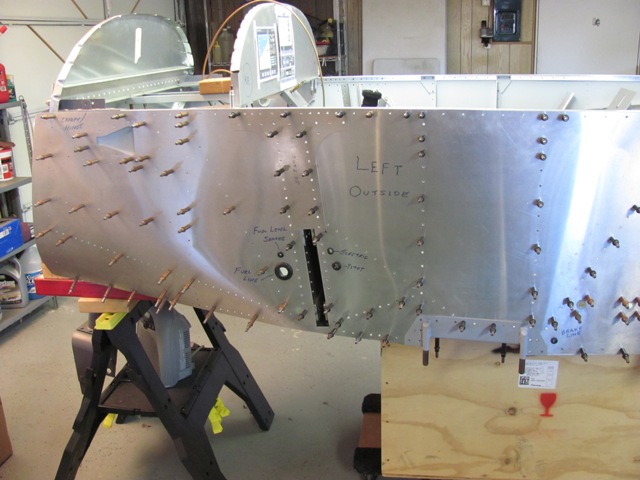
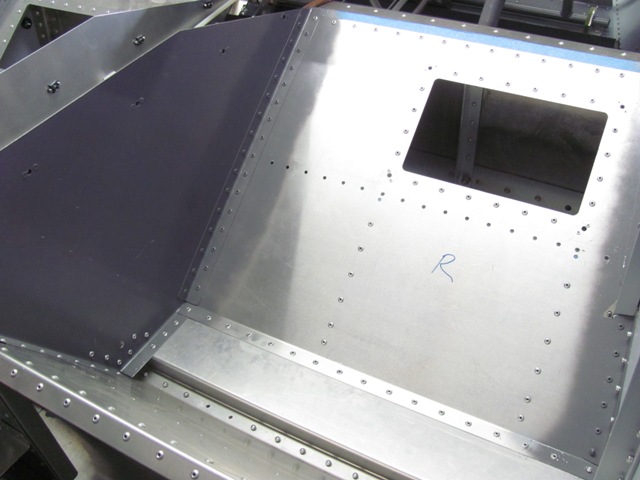
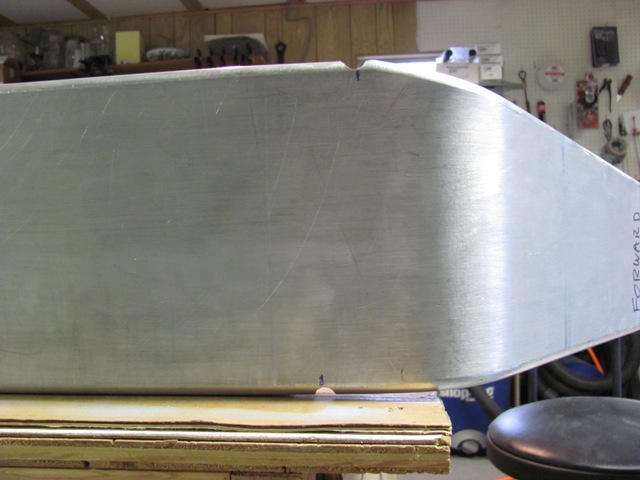
| Dec 11, 2012 - Front side skins clecoed, ready for riveting. |
|
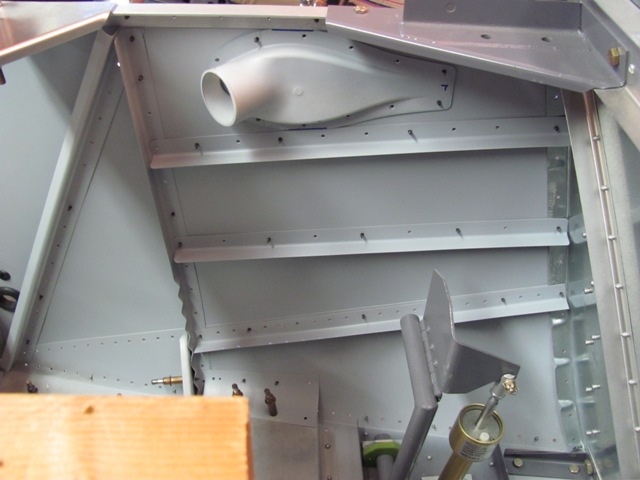
| Dec 11, 2012 - View of inside with skins and support structure primer
painted. |
|
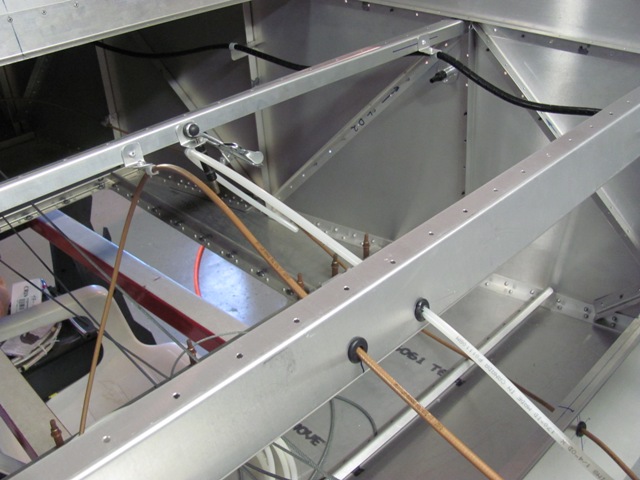
| Dec 12, 2012 - Static air tubing routed back under baggage floor. Tee will be insert to run to
static ports on either side. |
|
|
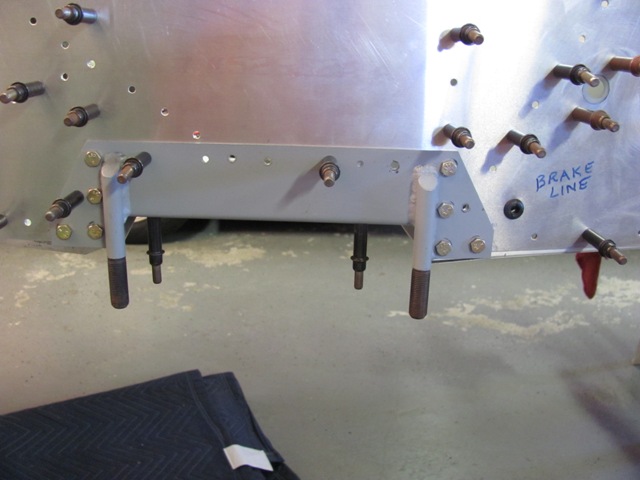
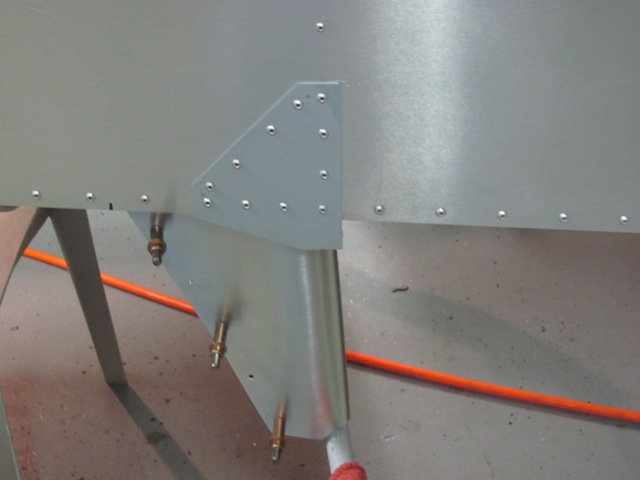
| Dec 13, 2012 - Bolted main gear brackets to fuselage (left side bracket). |
|
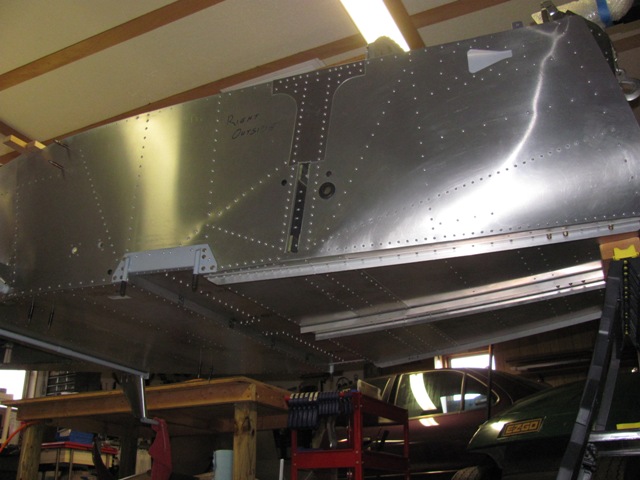
| Dec 14, 2012 - Both side skins all riveted. |
|
| Dec 14, 2012 - Both seat supports riveted. |
|
| Dec 14, 2012 - Both steps riveted to fusleage. Fairlings
will be riveted later. |
|
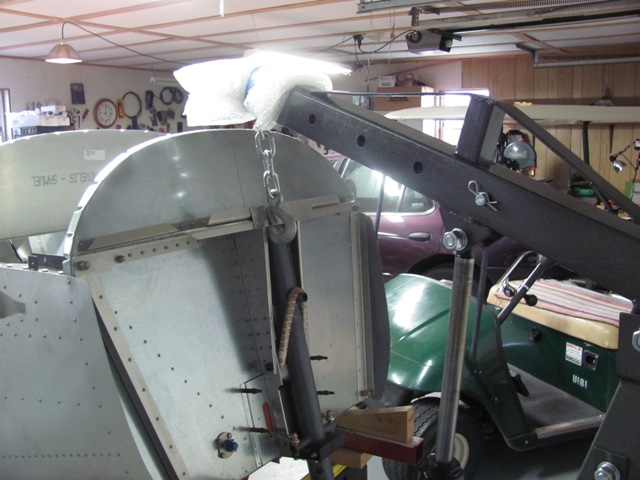
| Dec 18, 2012 - Hoisting fuselage to removed 12 ft. beams used during
building process. |
|
| Dec 18, 2012 - Beams removed. Set
back on two sawhorses. |
| Dec
18, 2012 - Installed 52 additional rivets in bottom there were not accessible when beams were in place. |
|
| Dec 20, 2012 - Cutting dimples in main gear legs where the attach bolts will be. Due to
taper in fuselage, bolts are at an angle to each other. |
|
|
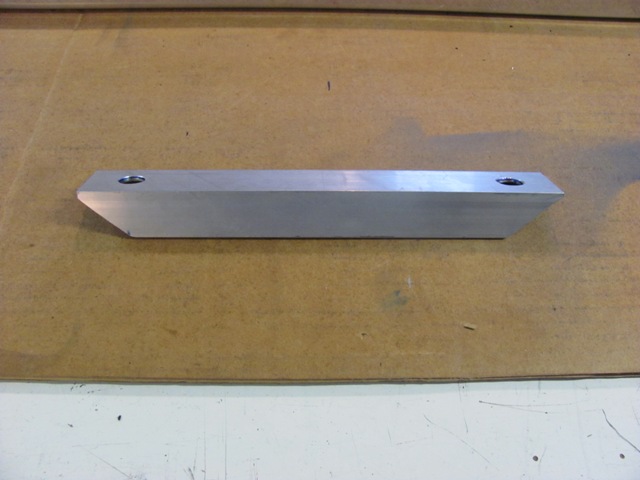
| Dec 21, 2012 - Heavy extrusion drilled and tapered. This
will become the bottom mounting bar for the main gear. |
|
| Dec 21, 2012 - Heavy extrusion drilled and tapered. This
will become the bottom mounting bar for the main gear. |
|
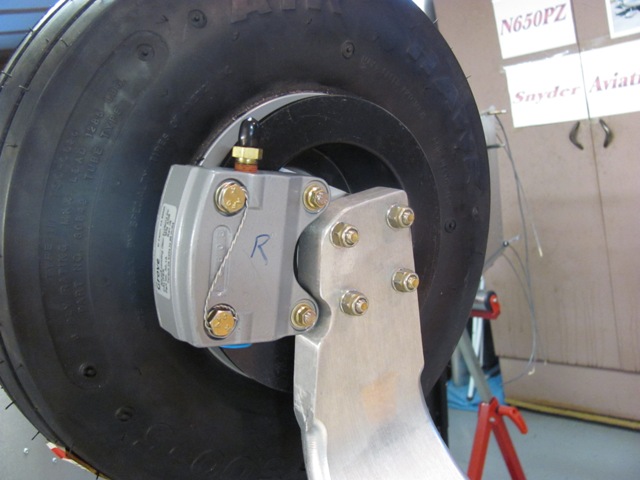
| Dec 21, 2012 - Wheels and brake calipes installed on main gear legs. |
|
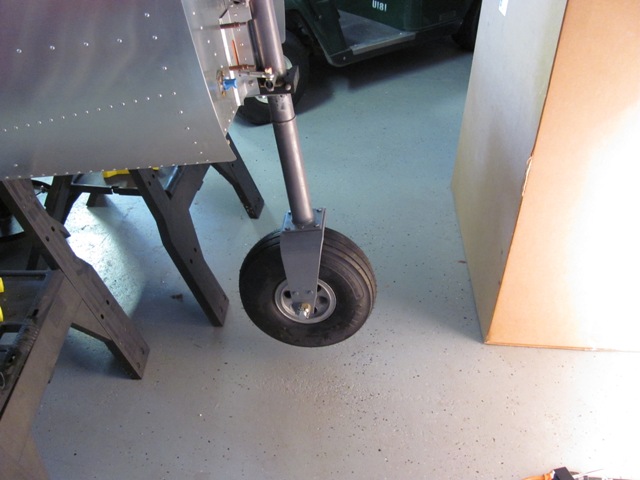
| Dec 23, 2012 - Nose wheel installed. |
|
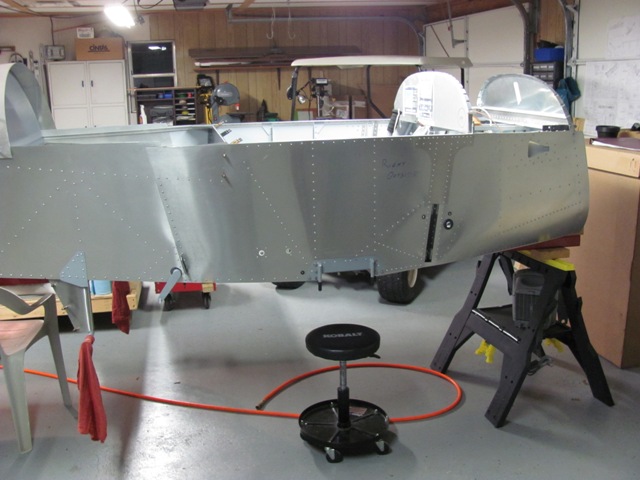
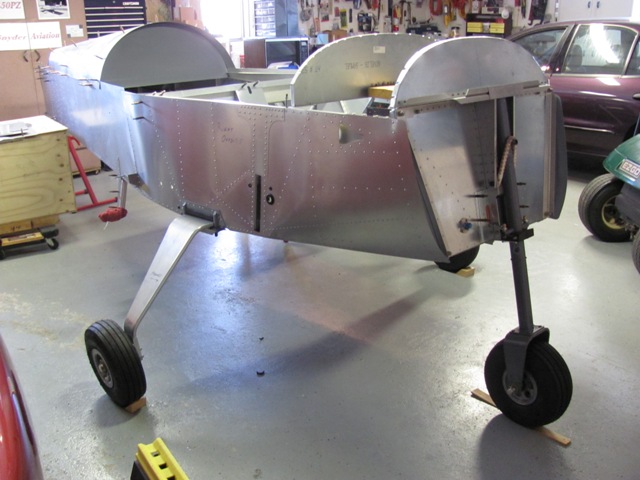
| Dec 23, 2012 - Main gear installed. Looking like an airplane.
Tail still supported due to lack of engine weight. |
|
| |
|