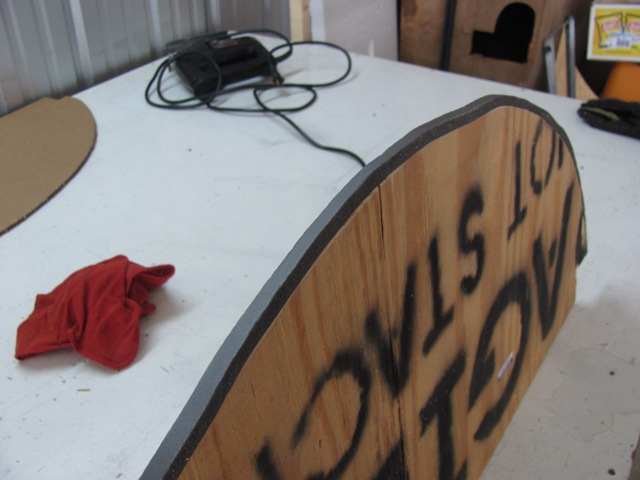
| Aug 17, 2016 - Cut out a plywood form to fit the rear canopy. Topped
it with foam weather strip. |
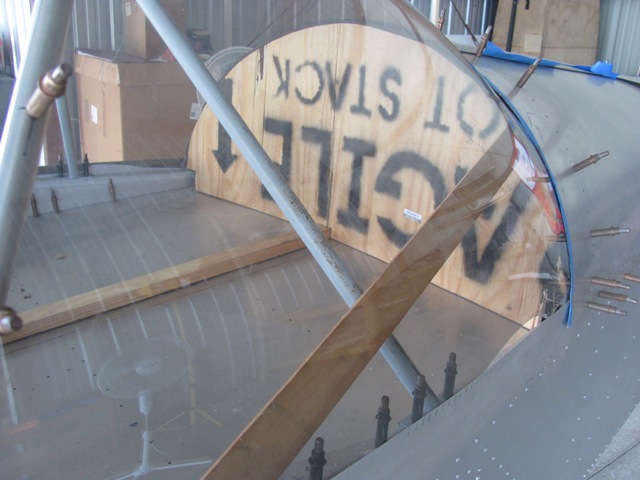
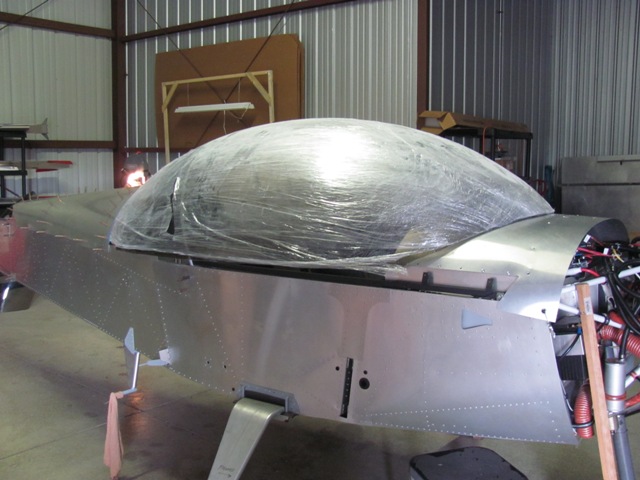
| Aug 17, 2016 - Inserted the
plywood form into the rear canopy and pressed toward the rear to force the canopy to mate to the rear deck. |
|
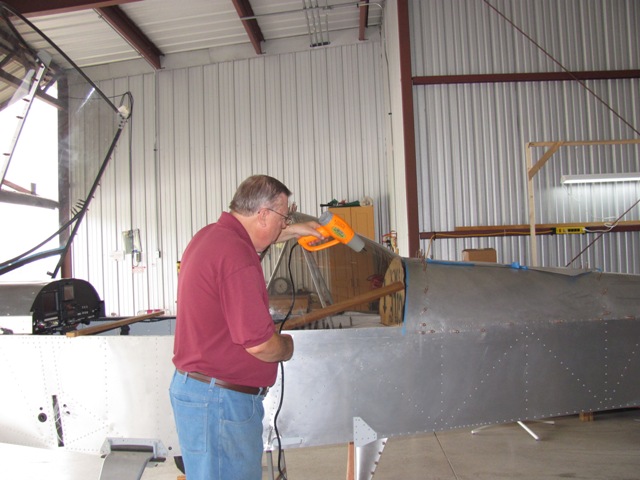
| Aug 17, 2016 - I am applying heat to the rear canopy in an attempt
to reform it so that the shape will be maintained after the plywood is removed. |
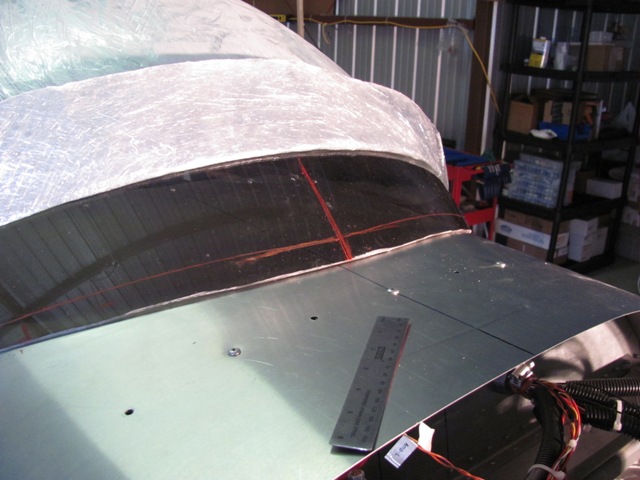
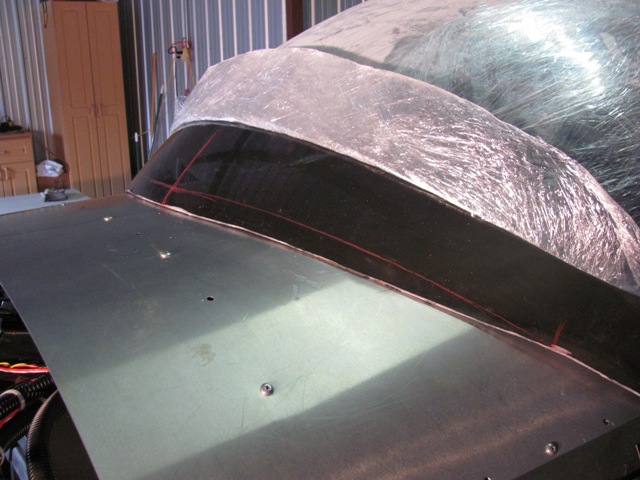
| Aug 26, 2016 - Heat treatment failed to reshape the rear canopy. Decided
to try modifying fairing to fix the problem. This is first rough cut. |
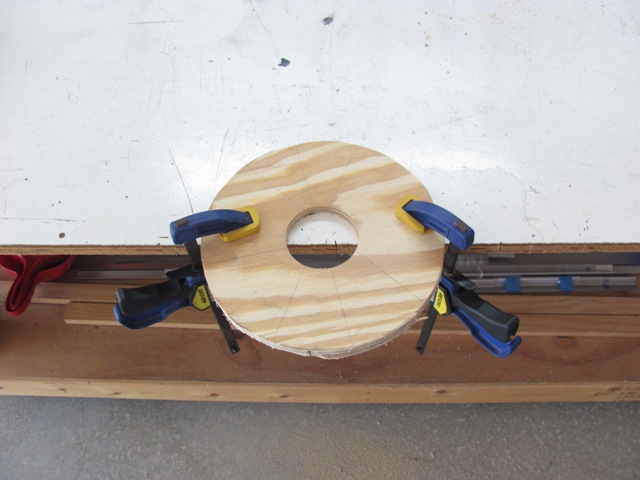
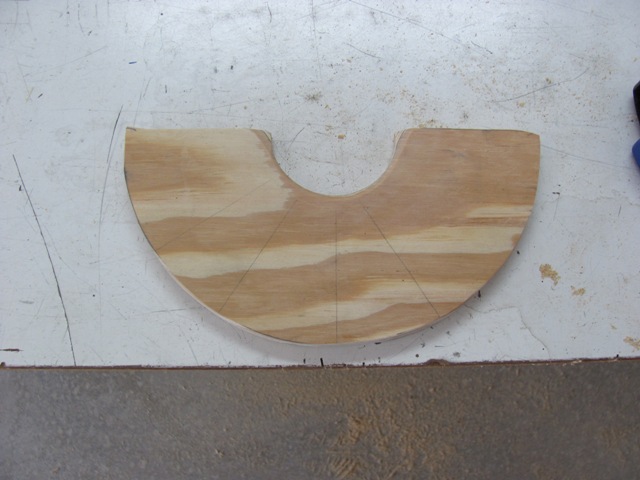
| Sep 3, 2016 - Cowling installation requires a spacer. Cut out 9
inch donut from 3/4 inch plywood, with 2-3/4 inch hole in center. |
| Sep 3, 2016 - Donut cut in two. Inside hole chamfered to match
prop flange. |
| Sep 3, 2016 - The spacer will be temp mounted to the bottom cowling during installation. |
| Sep 22. 2016 - I have given up on tried to fix the rear canopy. I
ordered a new canopy ( at 50% discount). |
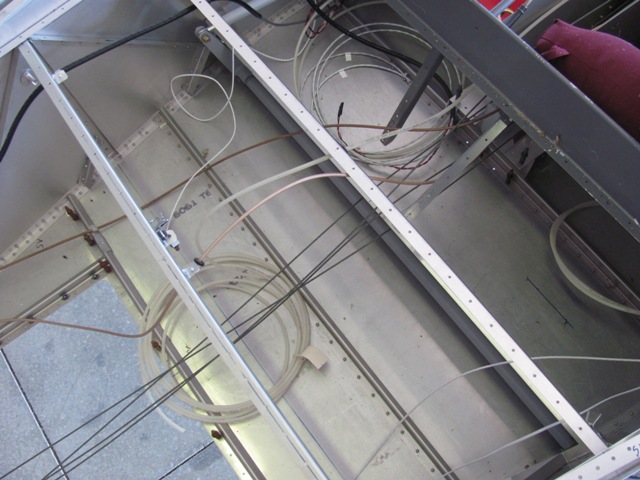
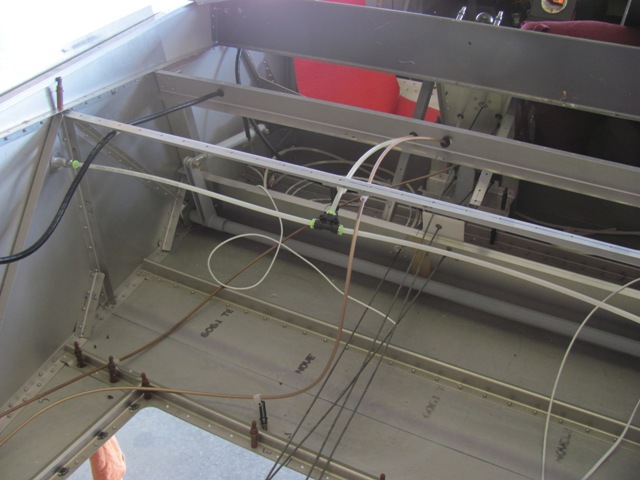
| Sep 22, 2016 - View of the wiring and tubing yet to be installed and organized. |
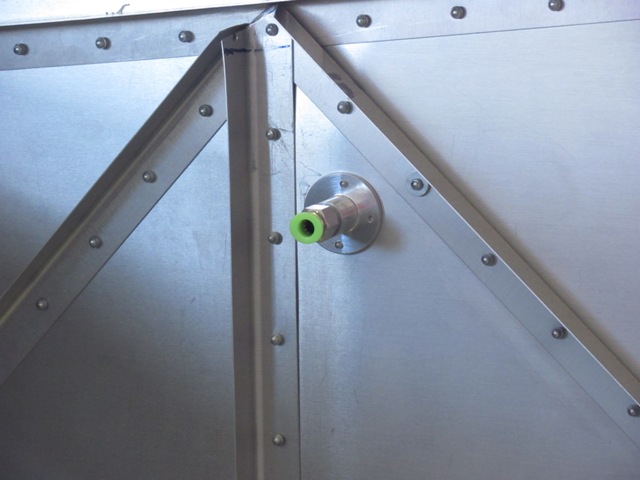
| Sep 22, 2016 - Installed quick connects for the static air ports. |
| Sep 22, 2016 - This is the 'T' connector and tubing for the left and right side
static air ports to the main line to the Dynon instrument. |
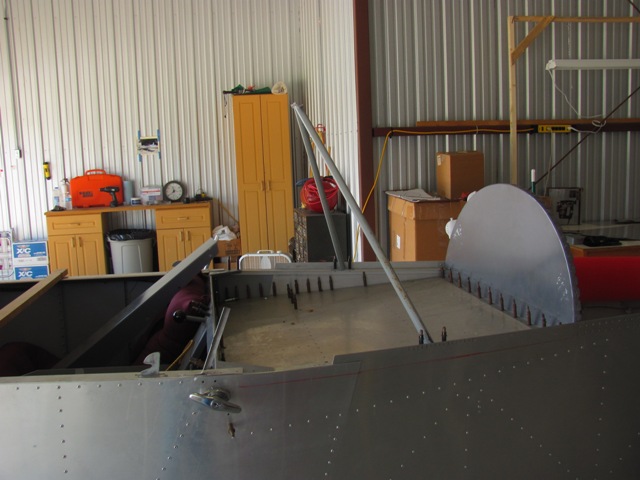
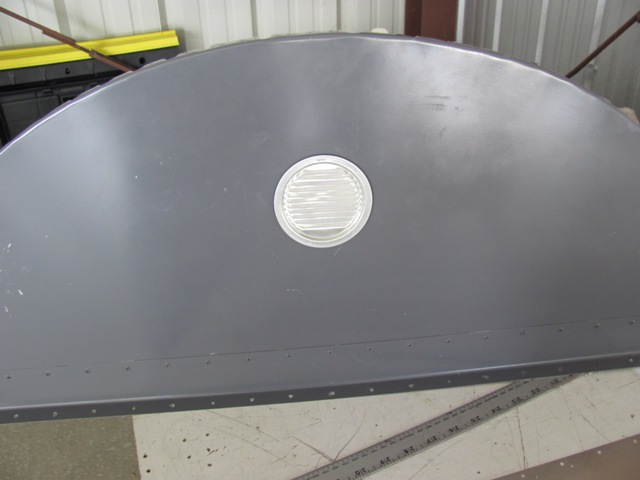
| Sep 24, 2016 - Cut a 3 inch hole in rear bulkhead, and installed louvered
vent for ventilation. |
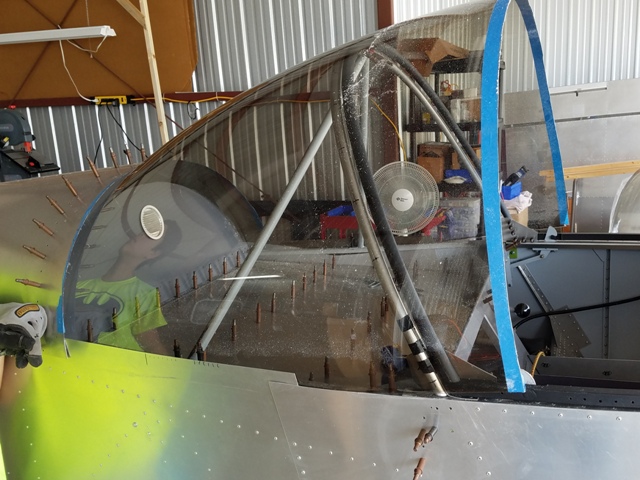
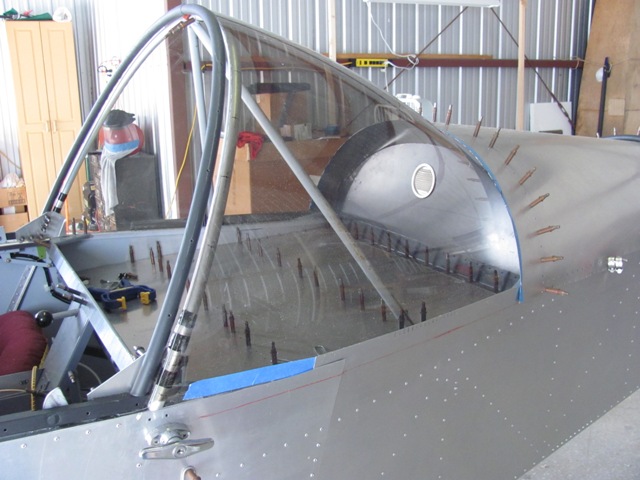
| Oct 11. 2016 - The new canopy. Dallas Harding in background checking
placement of new support hoops. |
v | Oct 12, 2016 - The new rear hoop cut and positioned. |
| Oct 12, 2016 - Canopy starting to settle in, but much more trimming needed. |
| Oct 31, 2016 - Establishing centerline, and drawing a second trim line on the canopy nose. |
. |
| Oct 31, 2016 - For the second trim line, I tapered down to just where the canopy touched the panel
cover. |
|
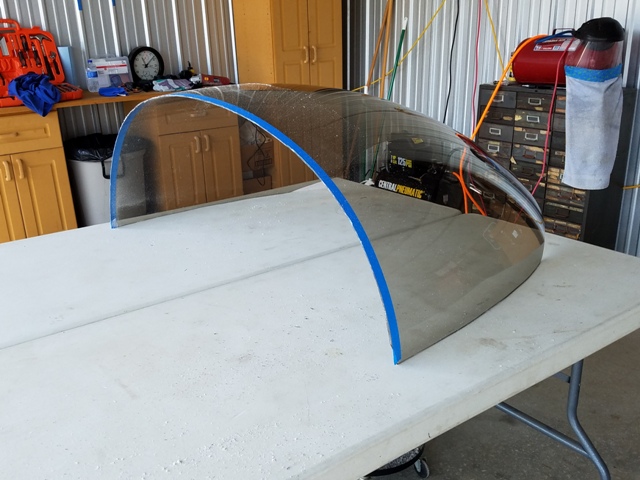
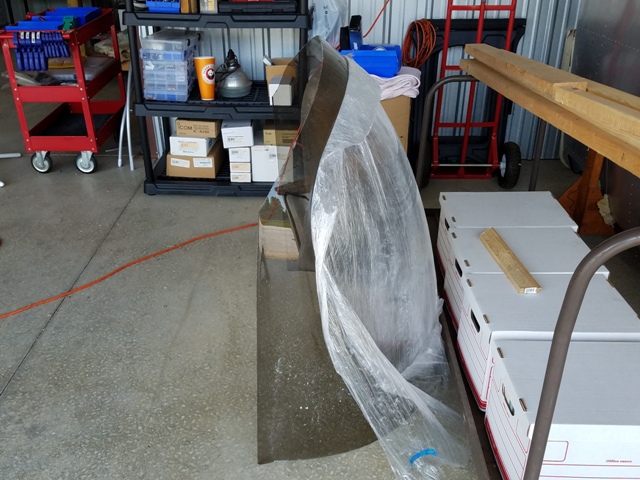
| July 4, 2017 - After a long winter and spring of not doing anything, I decided
not to rebuild the whole canopy, but concentrate on the rear section. I split the new canopy.
This is the oversize rear section. |
| July 4, 2017 - This is the front section of the "new" canopy that is now
scrap. |
| July 4, 2017 - My grandson, Jordan, was
helping, but he was tired from staying up all night playing video games. He'll be awake for fireworks
tonight. |
|
| July 4, 2017 - Dry fitting the rear canopy section, I left plenty
extra when I split the two sections. I will trim later. |
| July 8, 2017 - Rear section of new canopy for trial fitting. Will
mark along line between two support hoops for second trim cut. |
| July 8, 2017 - Rear section removed, cut, and reset in place.. |
| July 8, 2017 - Trim line will be sanded to final fit. |
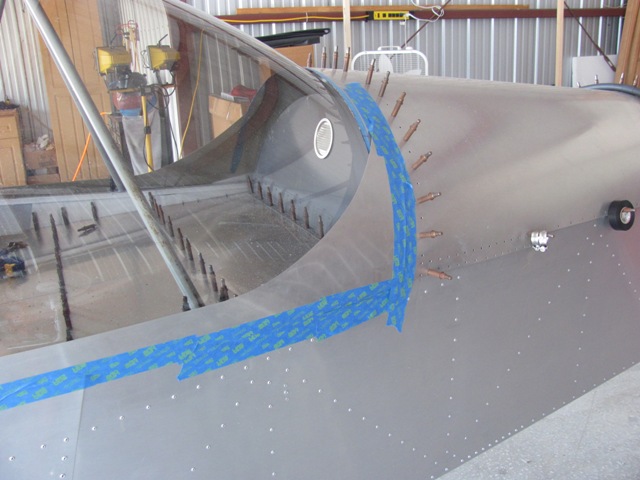
| July 8, 2017 - Trimmed some from the pilot side bottom, |
| July 8, 2017 - The side gap is much, much better than original canopy.
Only requires slight pressure to bring it out to match the future cover trim piece. |
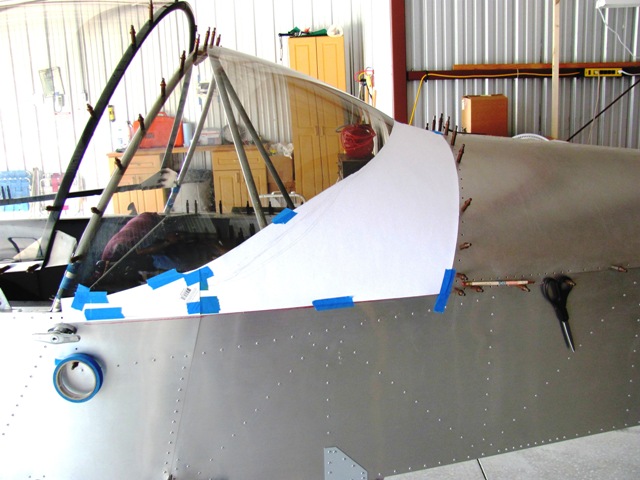
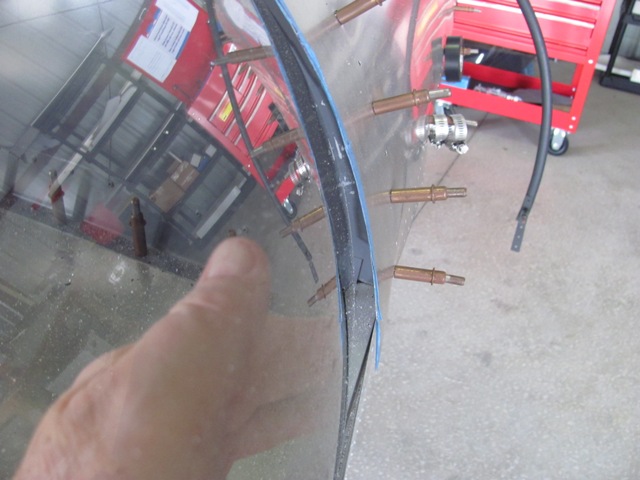
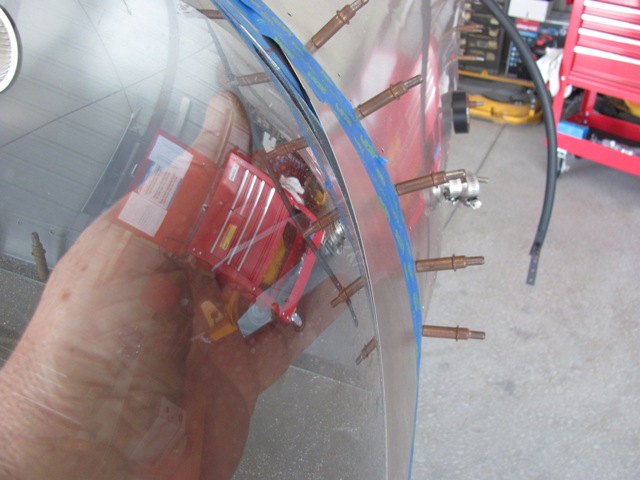
| July 31, 2017 - Fitting the rear canopy side trim. |
| July 31, 2017 - The reflection makes it hard to see, but the fit is going to work
out well when the rivets pull the canopy out to the trim piece. |
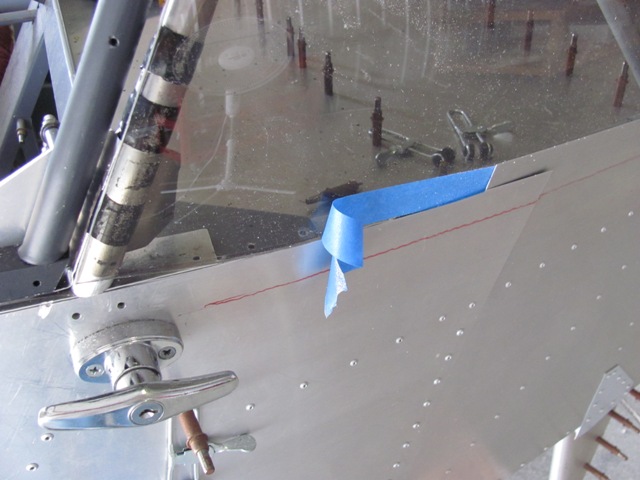
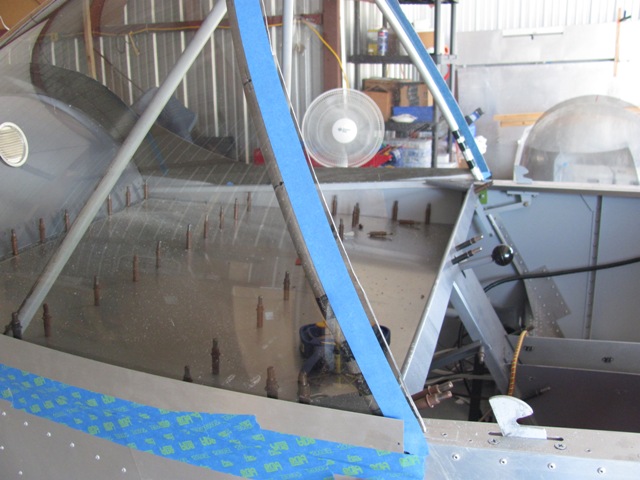
| July 31, 2017 - Marking the front edge of the canopy where additional trimming needs
to be done. |
|